Addovation Share for Teams - User Guide
Last Updated: 2025-11-27
Introduction
Addovation Share Teams Integration Solution allows users to upload documents/files and retrieve them from IFS and ability to check-in and check-out files from IFS Application.
The solution includes:
- Channel filter by customer
- Check-in document(s)
- Check-in document(s) as new revision(s)
- Check-out document(s)
- Undo check-out
- Search and list checked out documents
- Open document(s) in web
- Download onedrive document(s)
- View document(s) details
The User Guide is envisioned to assist individuals utilizing the Share Teams Integration Solution.
Sign in to Share Teams Integration
Share Document Management users need an IFS User ID which is connected to the Microsoft 365 account and necessary permissions.
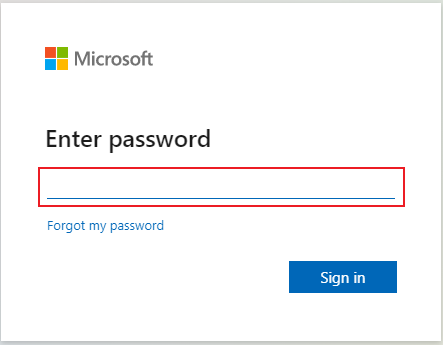
Open
Microsoft Teamsand log in to your account.Enter the correct email address for username.
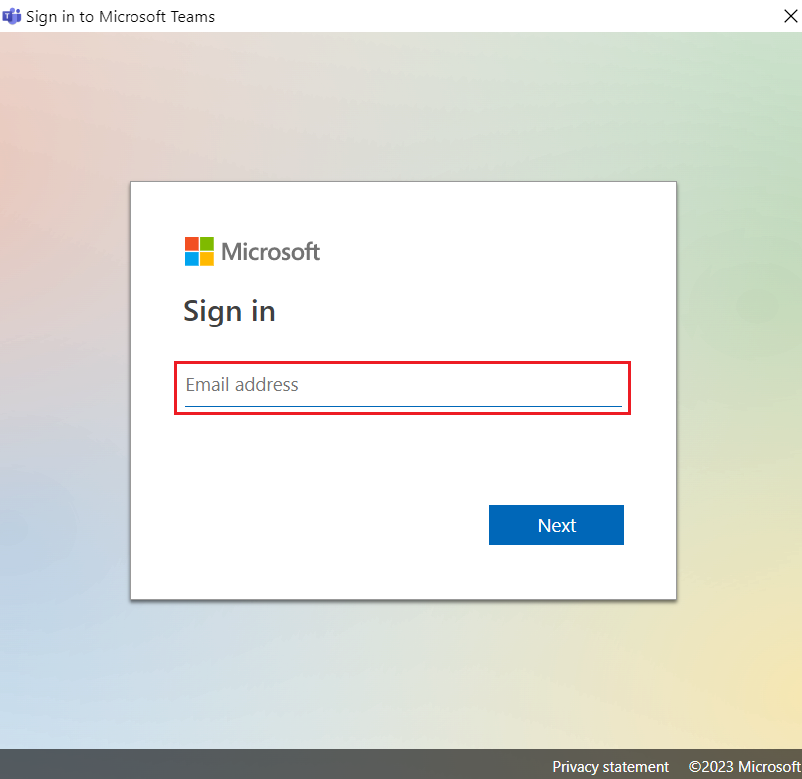
Then enter the password. Click on Sign in button.
App Installation
In the left sidebar, click on the
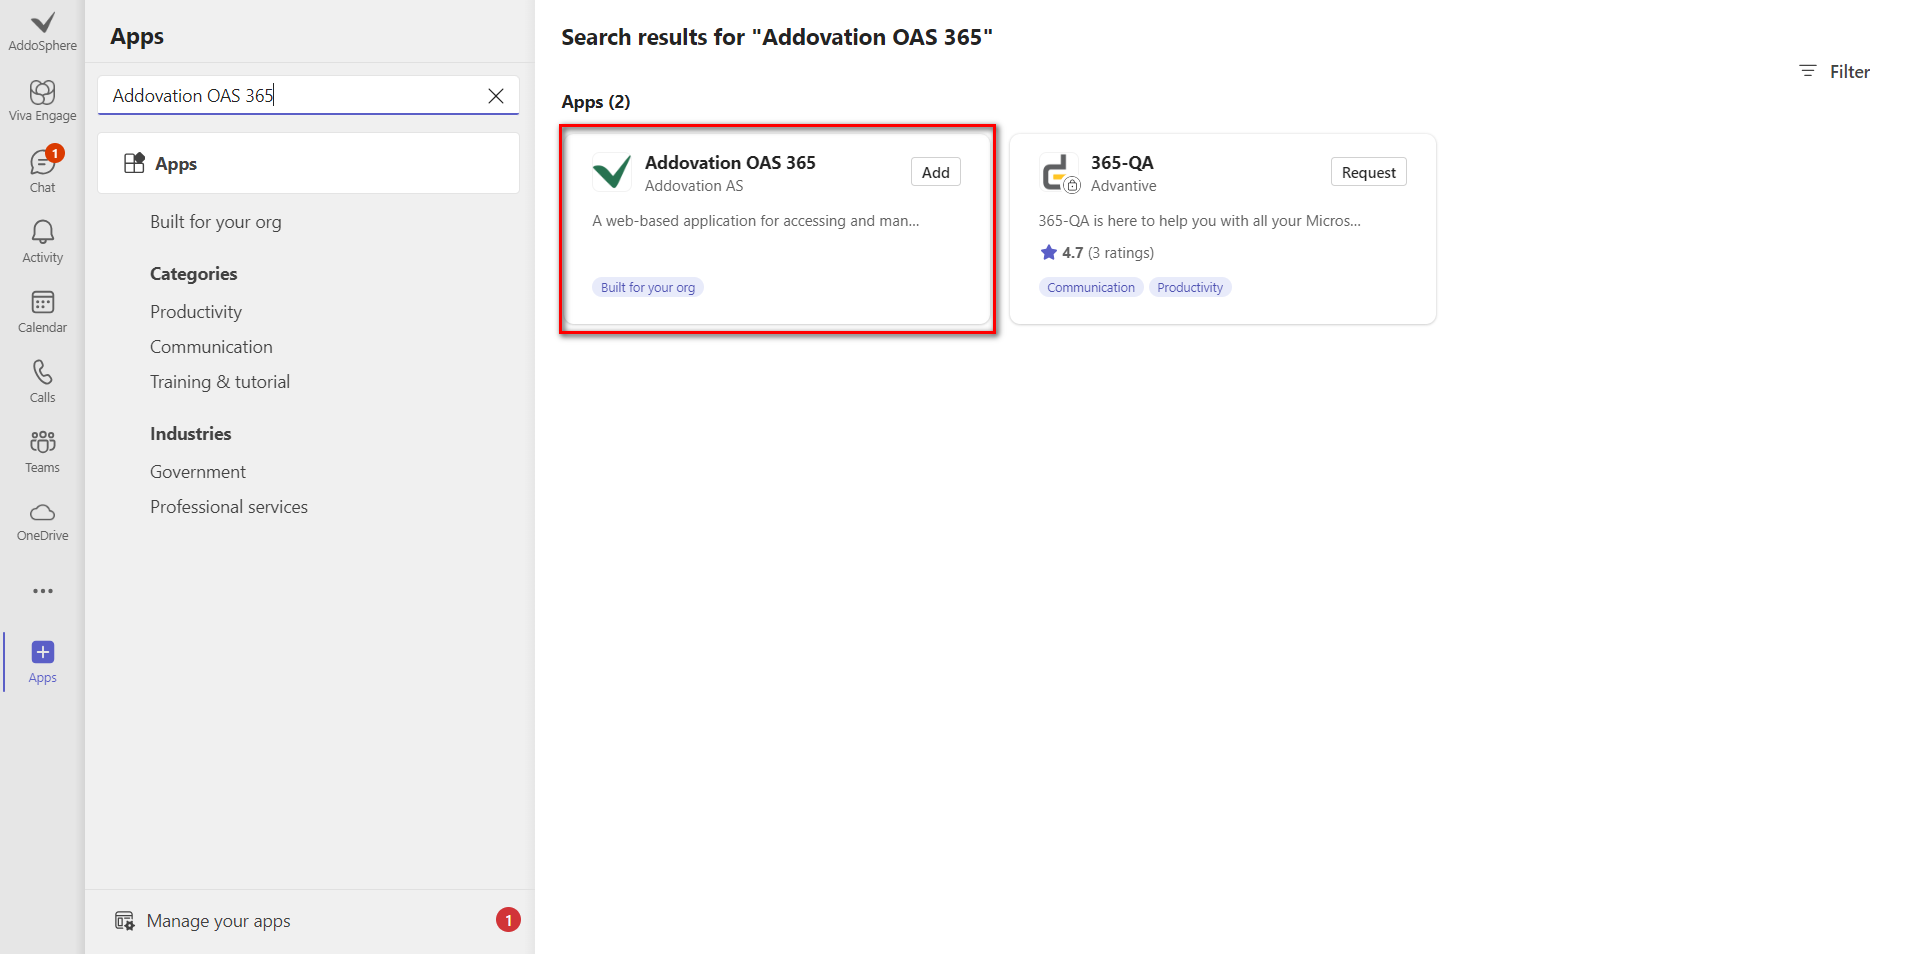
Appsicon. It may look like a grid of dots or be labeled asApps.In the Apps section, you can browse through the featured apps, or you can use the search bar to find the
Teams Channel App.
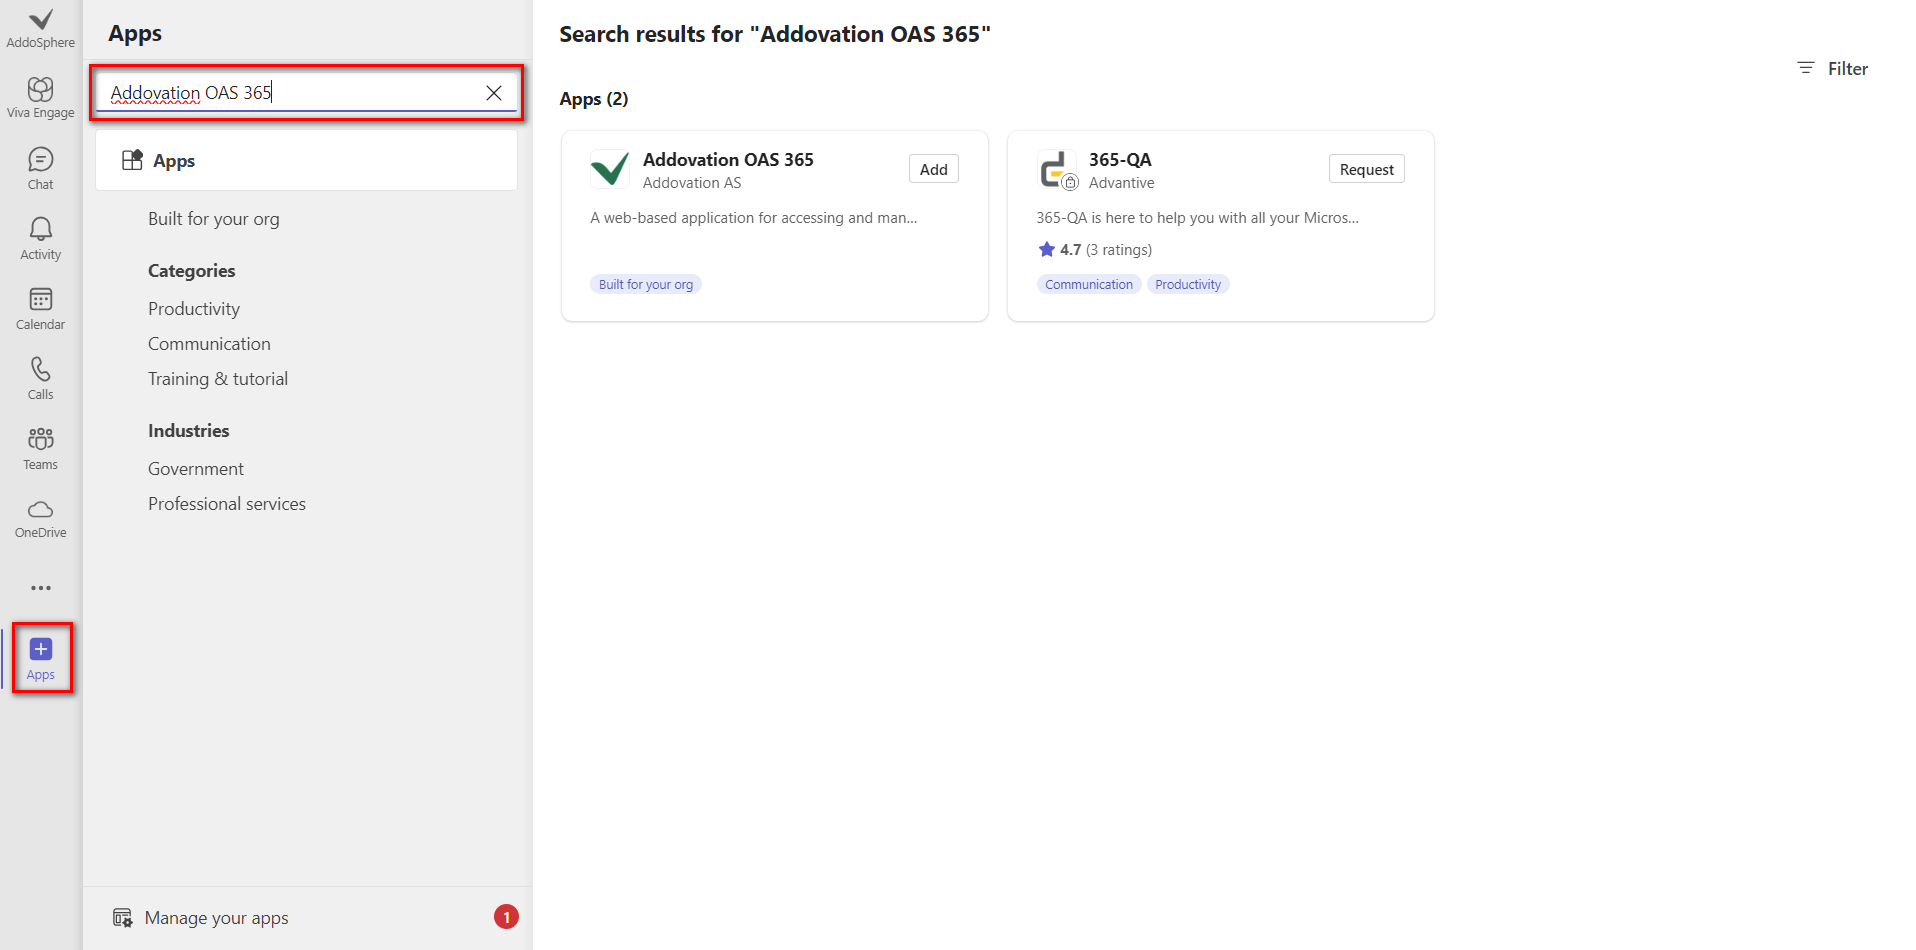
- Click on Addovation Share button
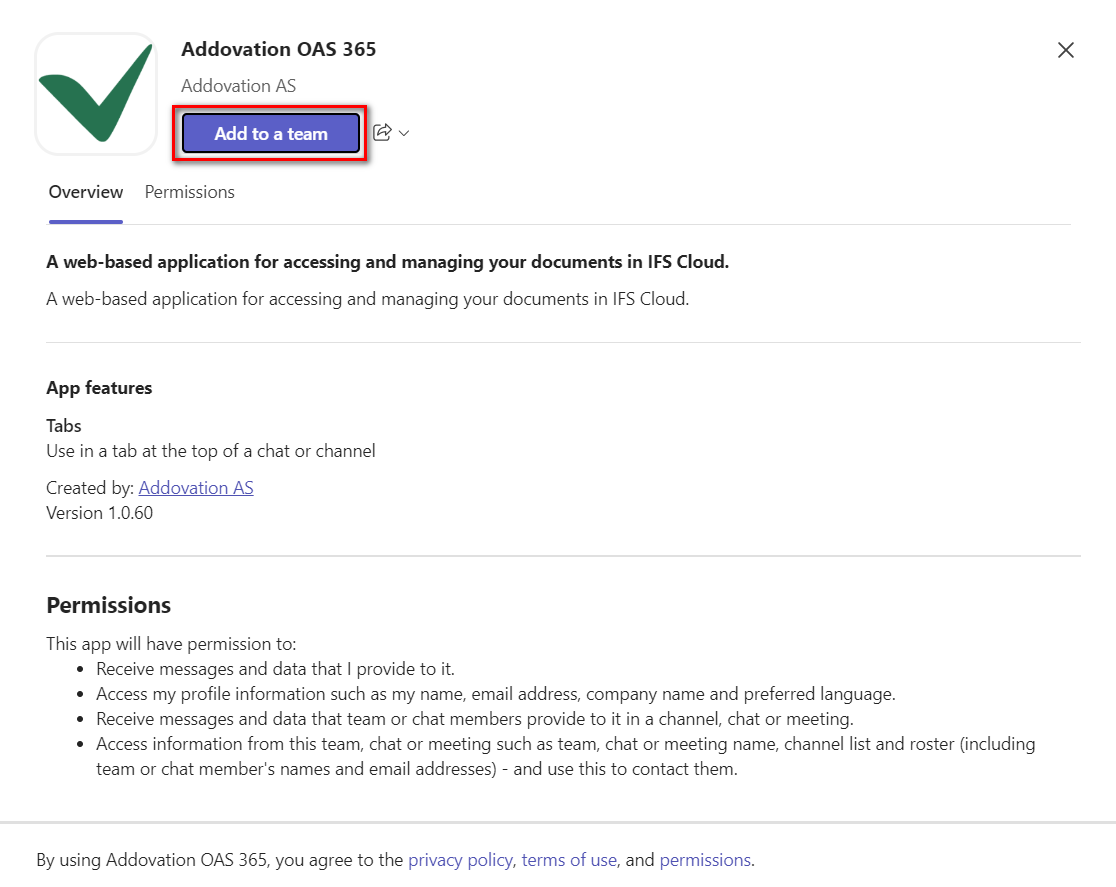
Now It will Open Addovation Share window as below.
Click on Add to a team button
- Select your
channelfrom the dropdown.
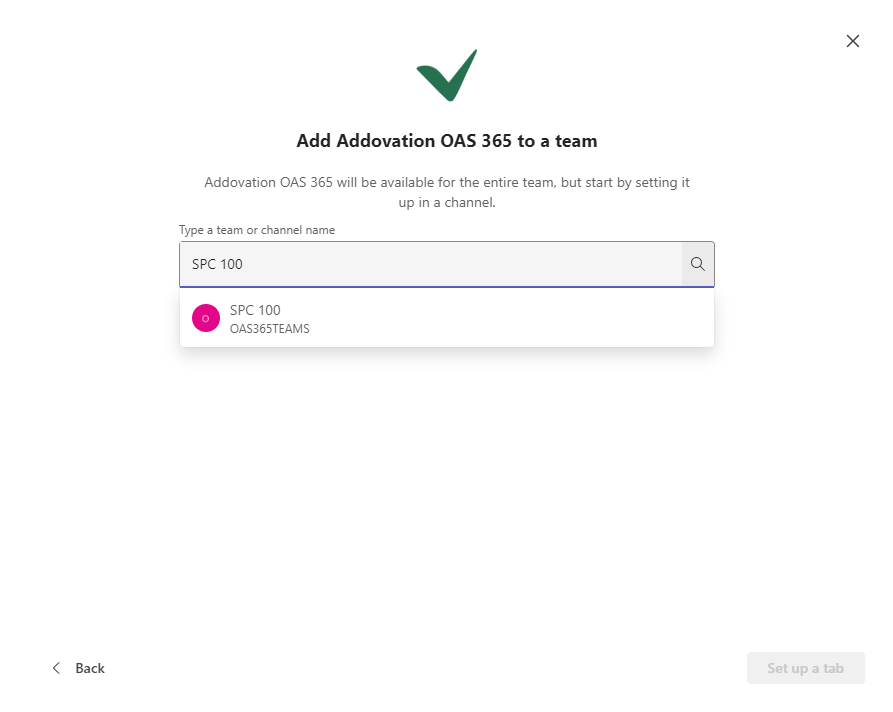
- Click Set up a tab button.
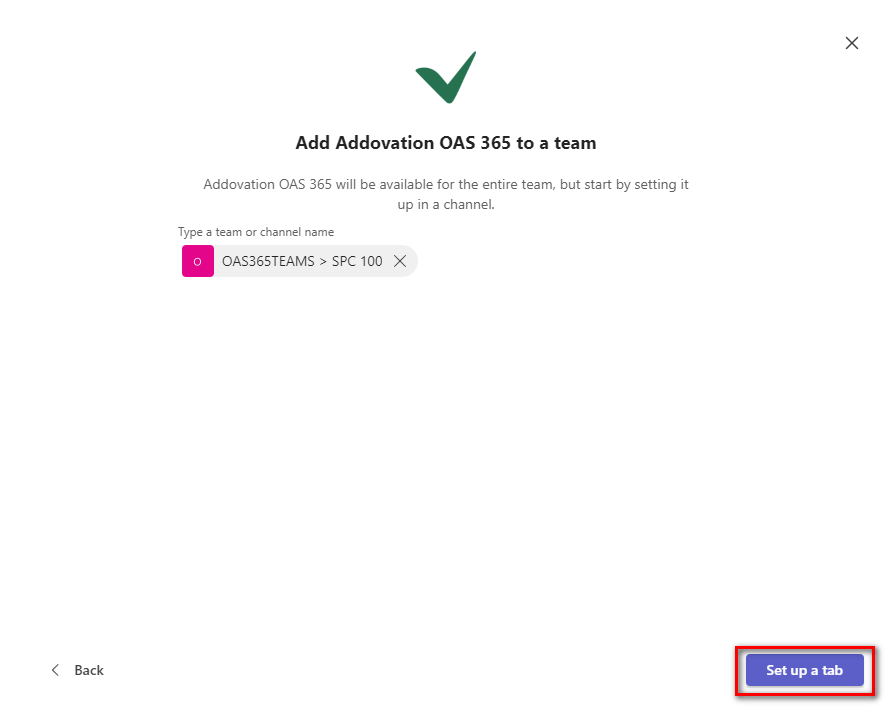
- Now you can view the
Teams Channel App.
In Teams tab Select your customer channel that you have install the Teams Integration.
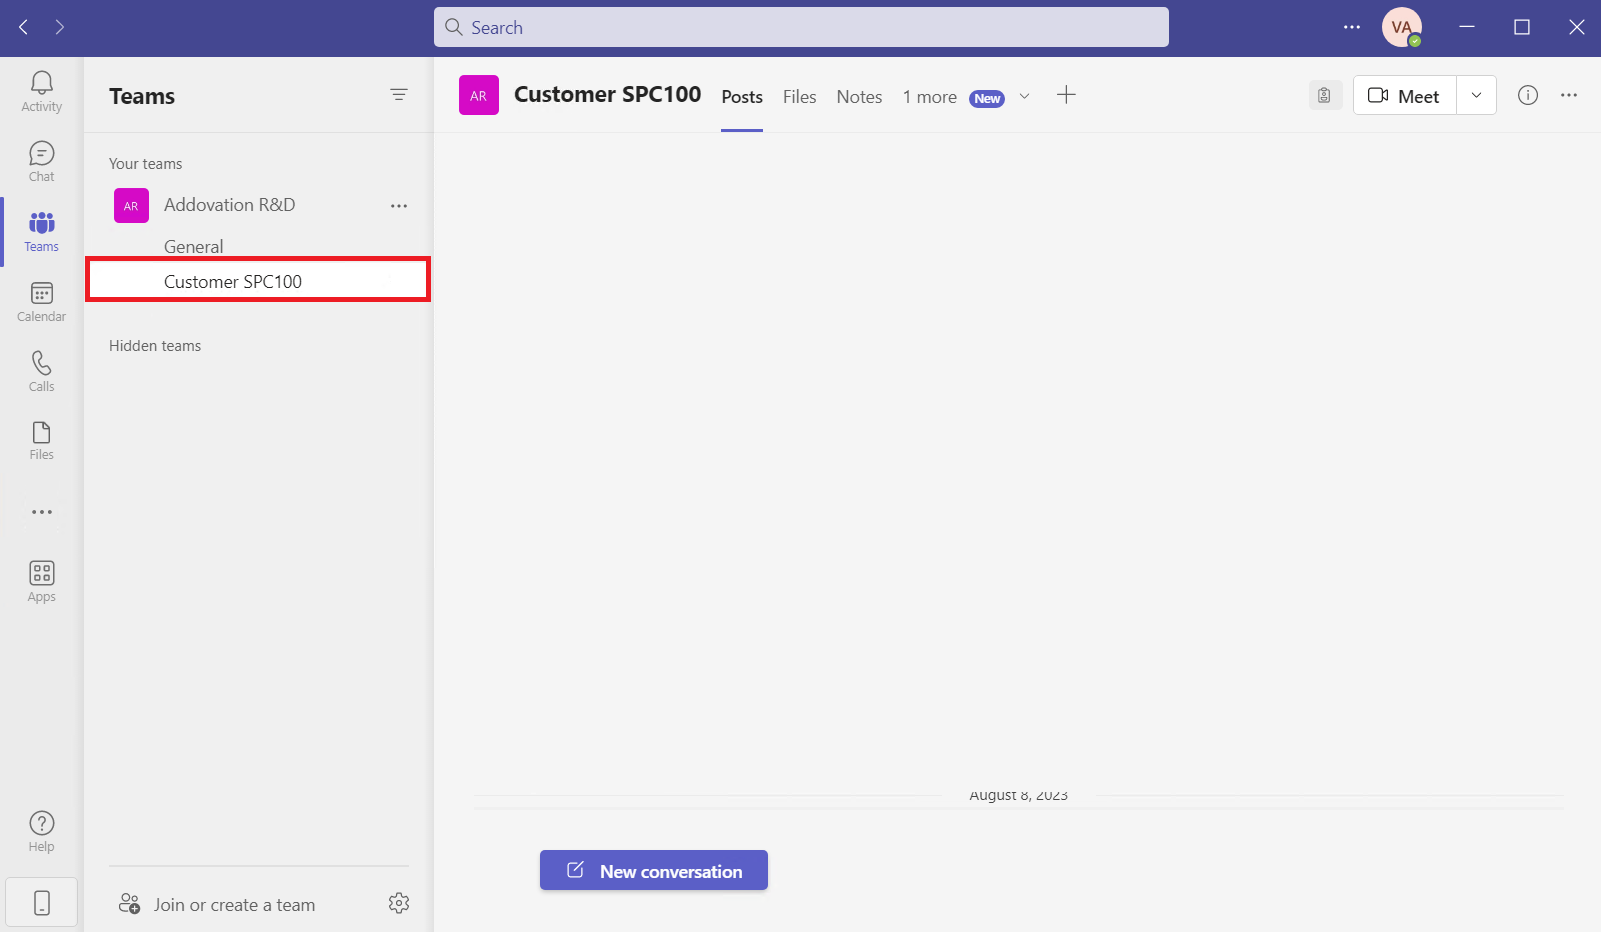
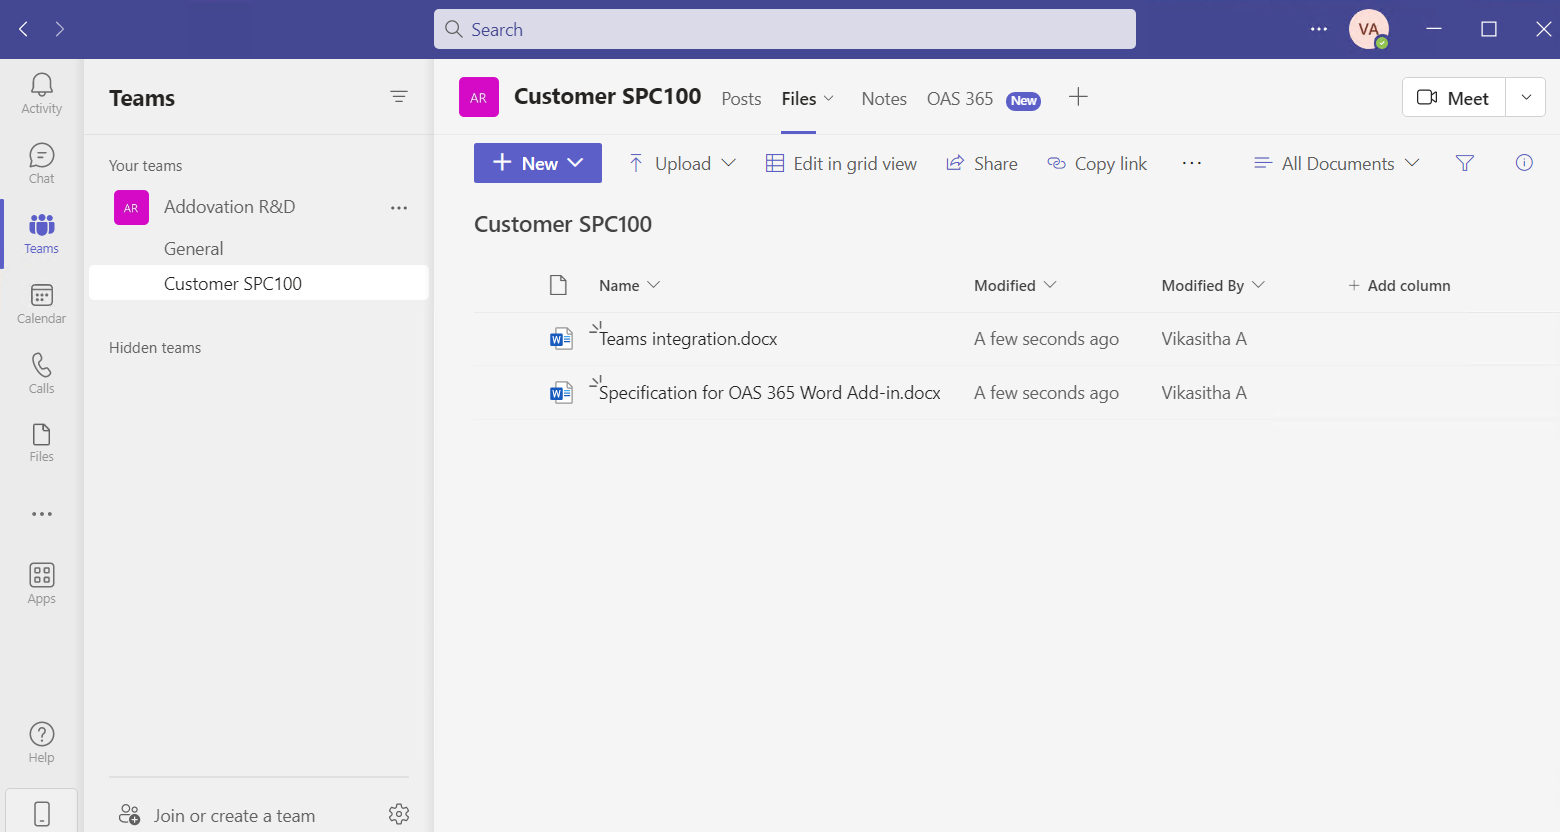
Click on Files tab.
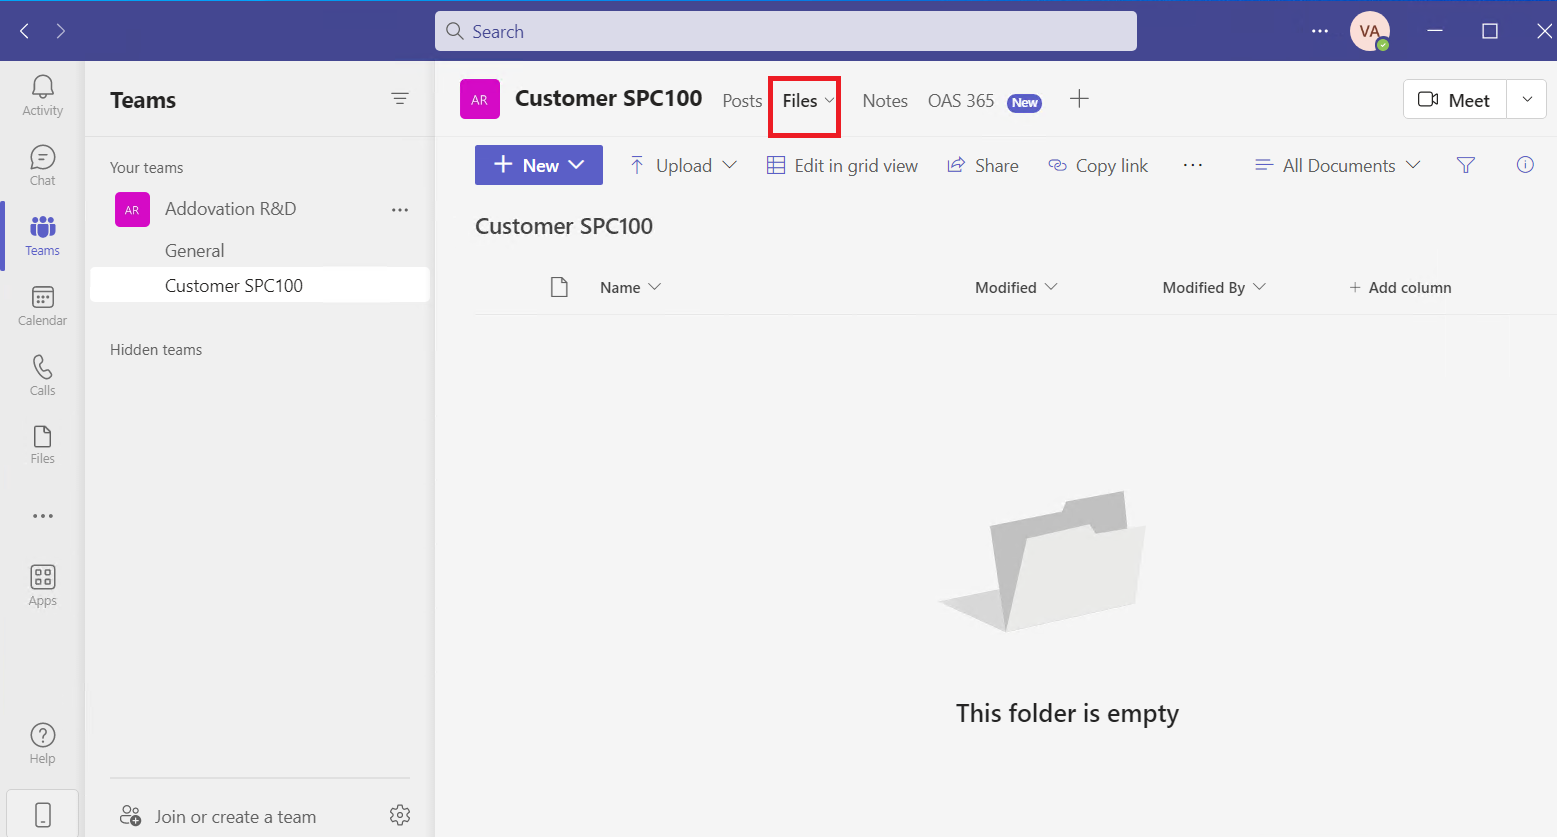
Now you can upload documents here.
Click on Share tab.
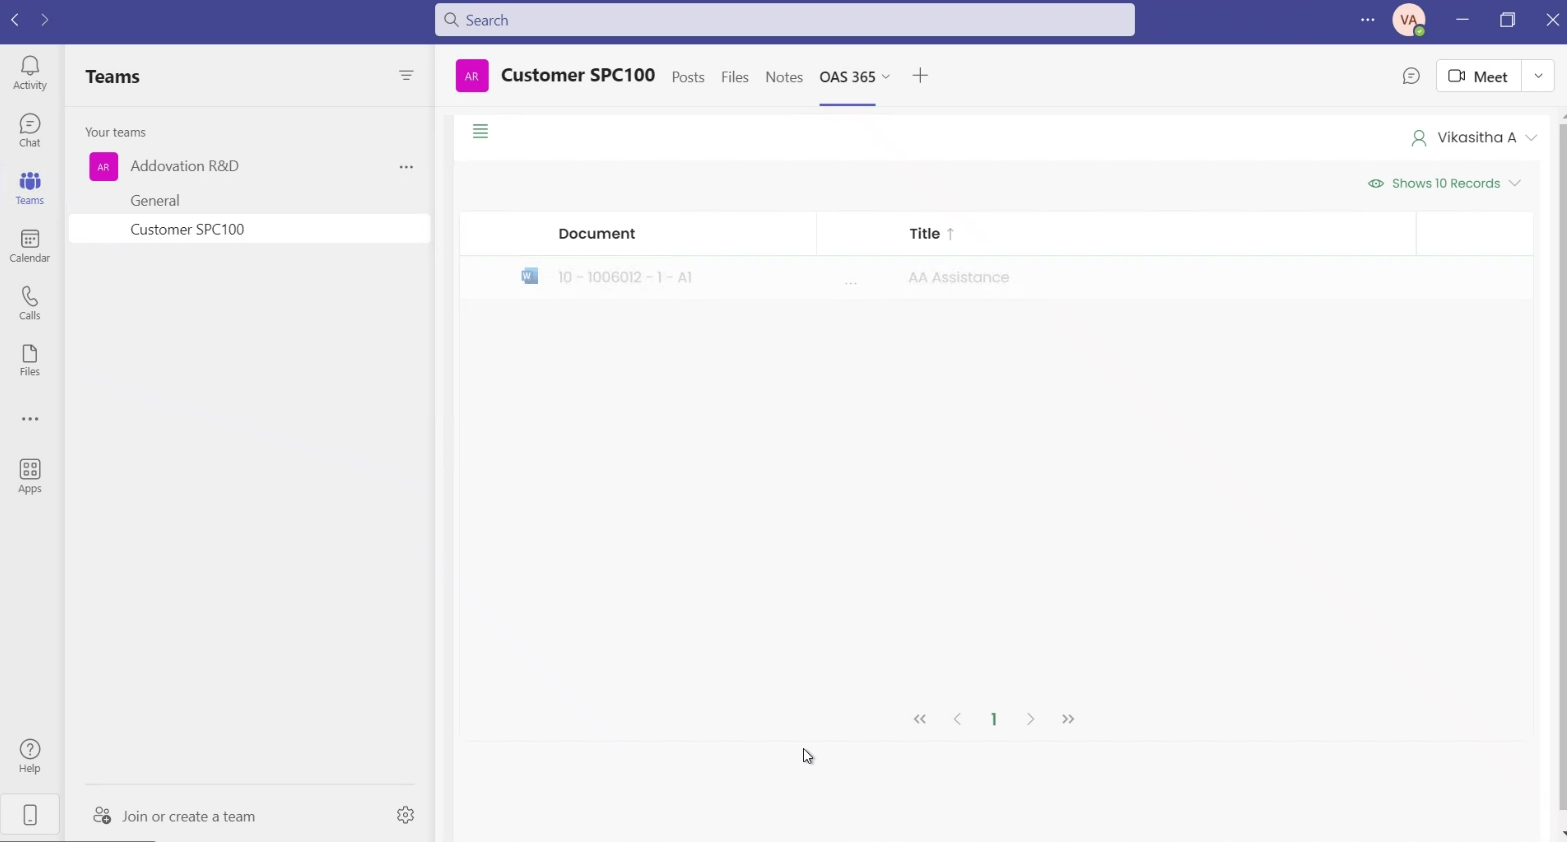
Share Main Window will be the landing page.
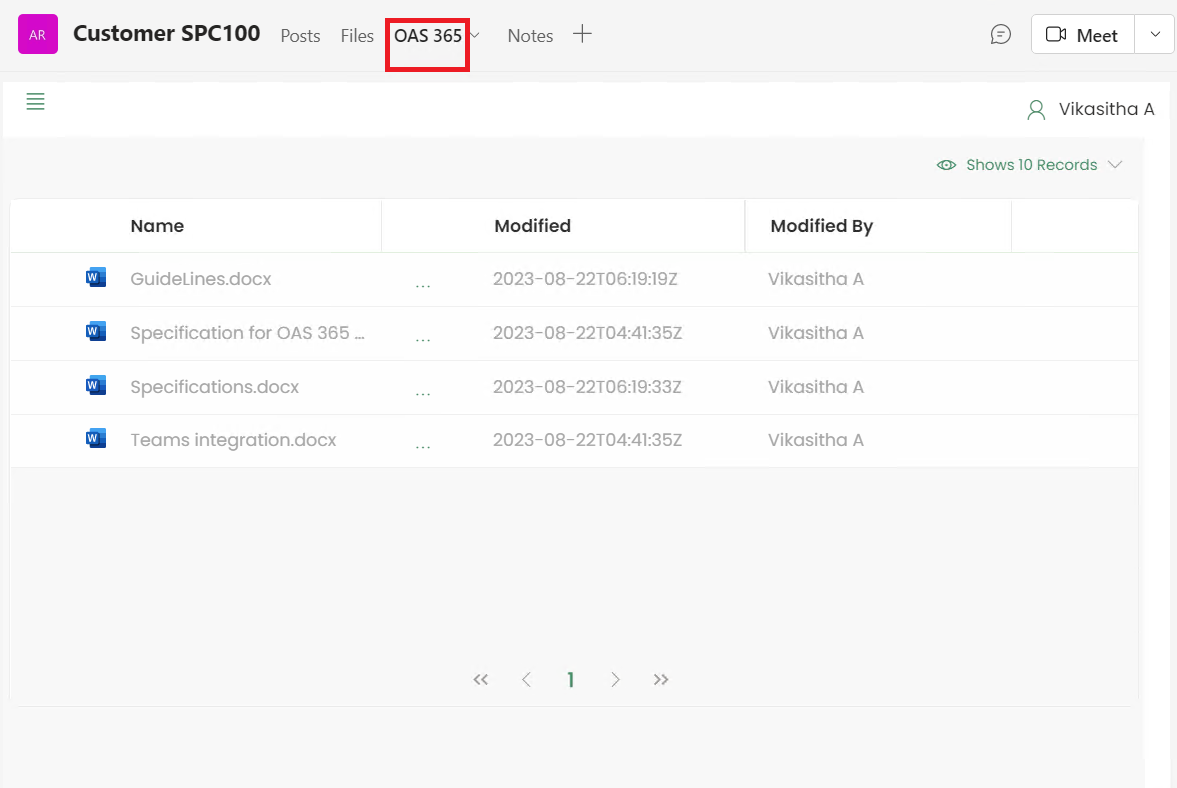
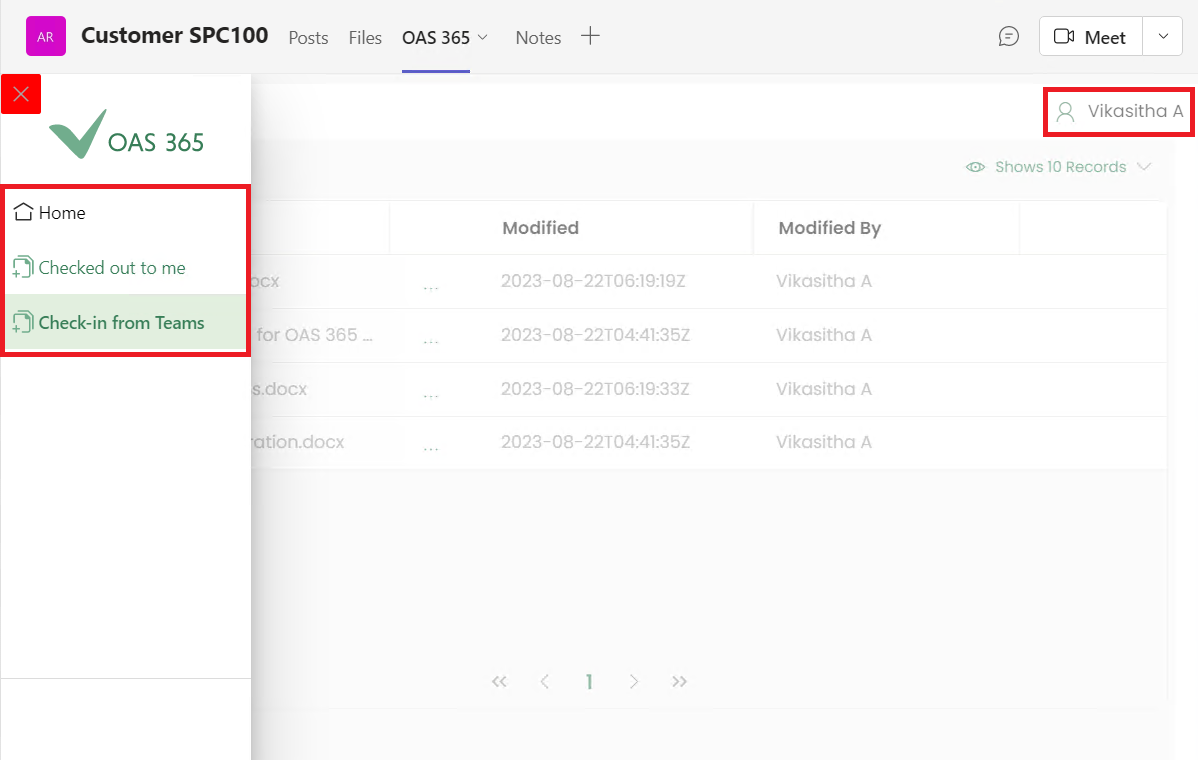
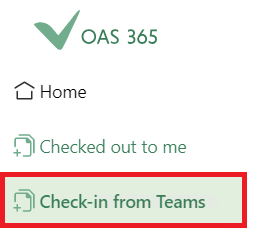
Share Document Management left menu contains;
- Home
- Checked out to me
- Check-in from Teams
Logged-in user details will be displayed on the top right corner.
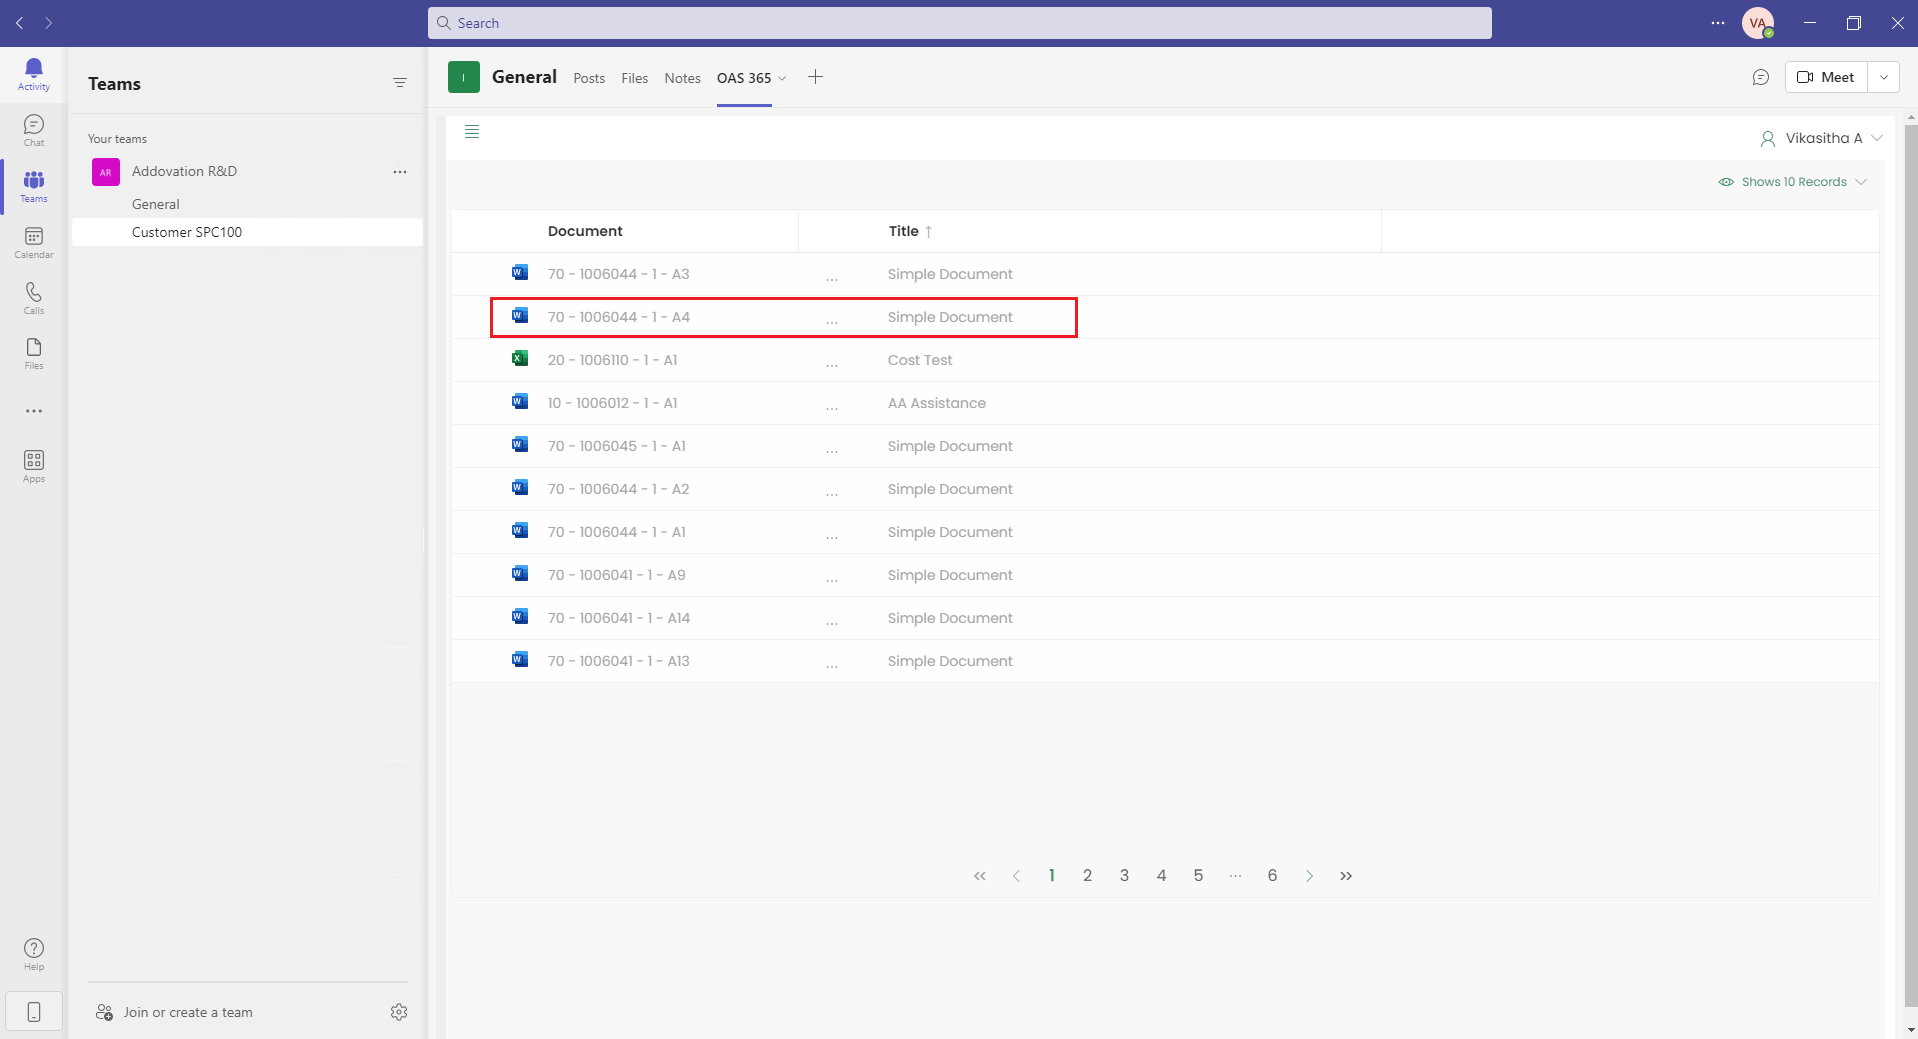
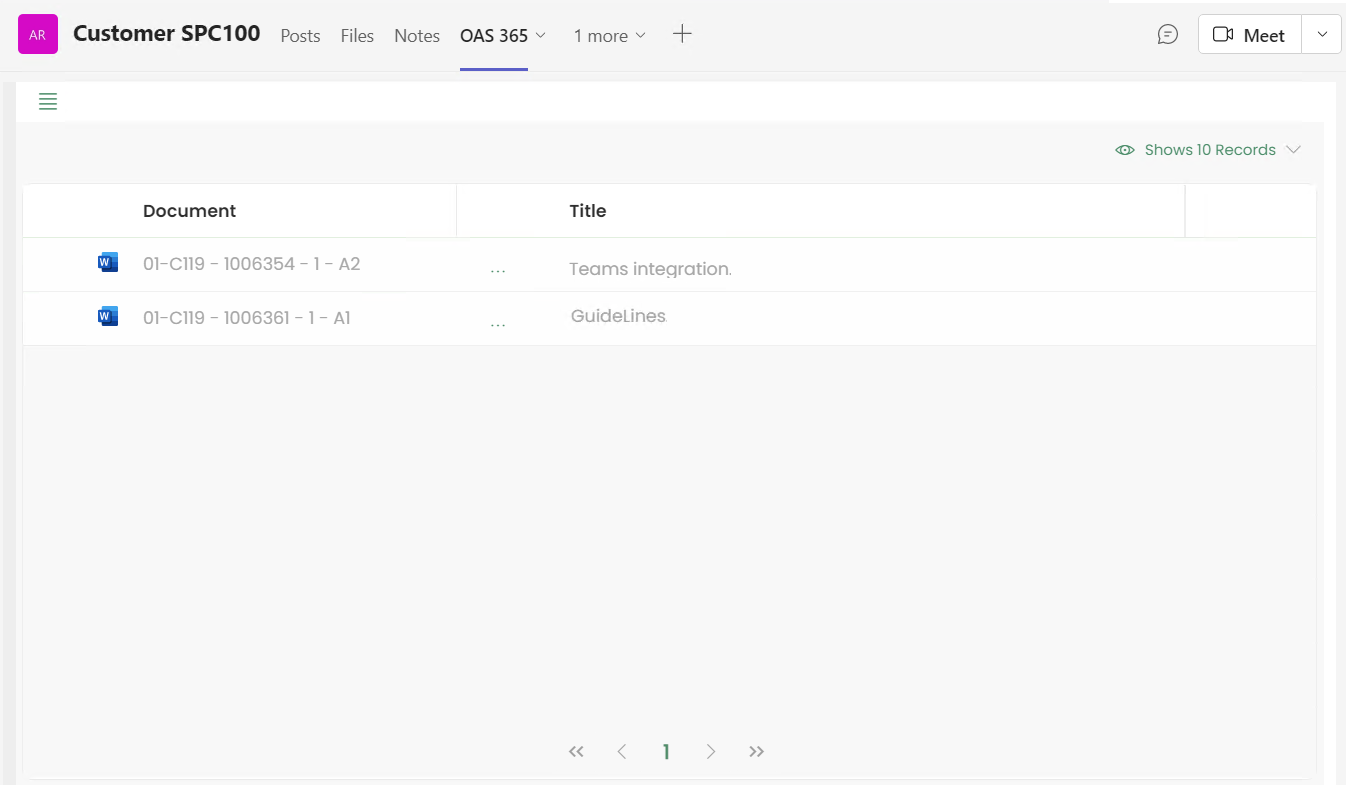
Home
All documents you have upload in the files tab will be display here.
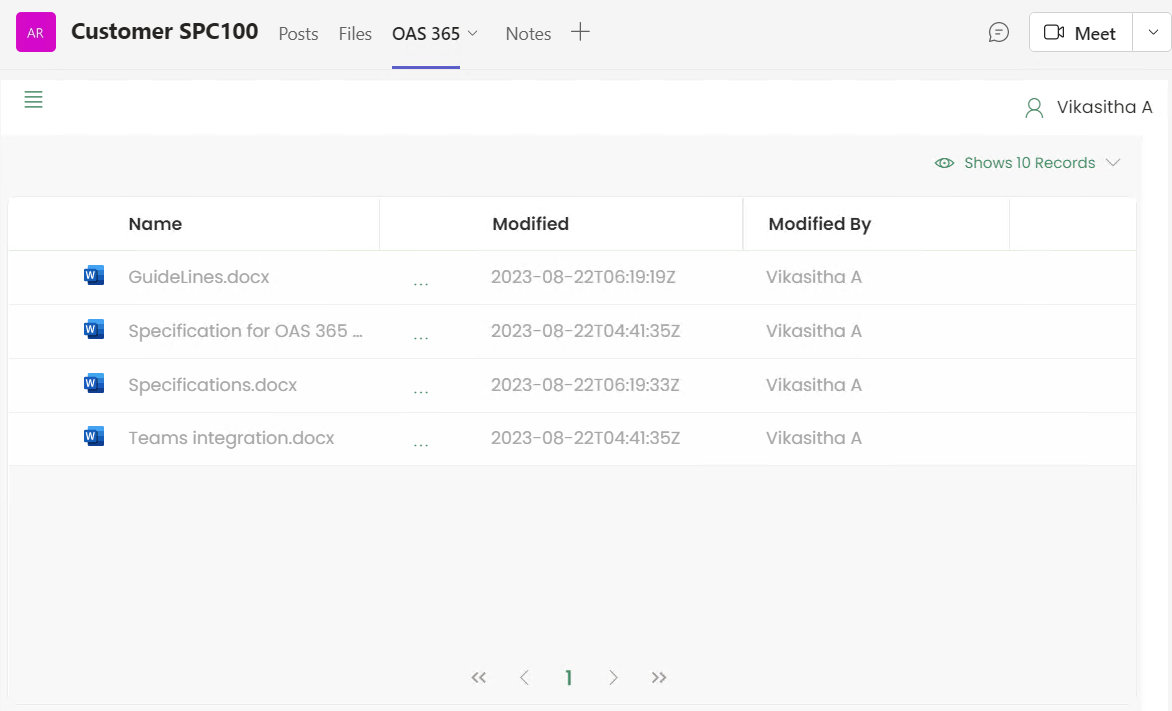
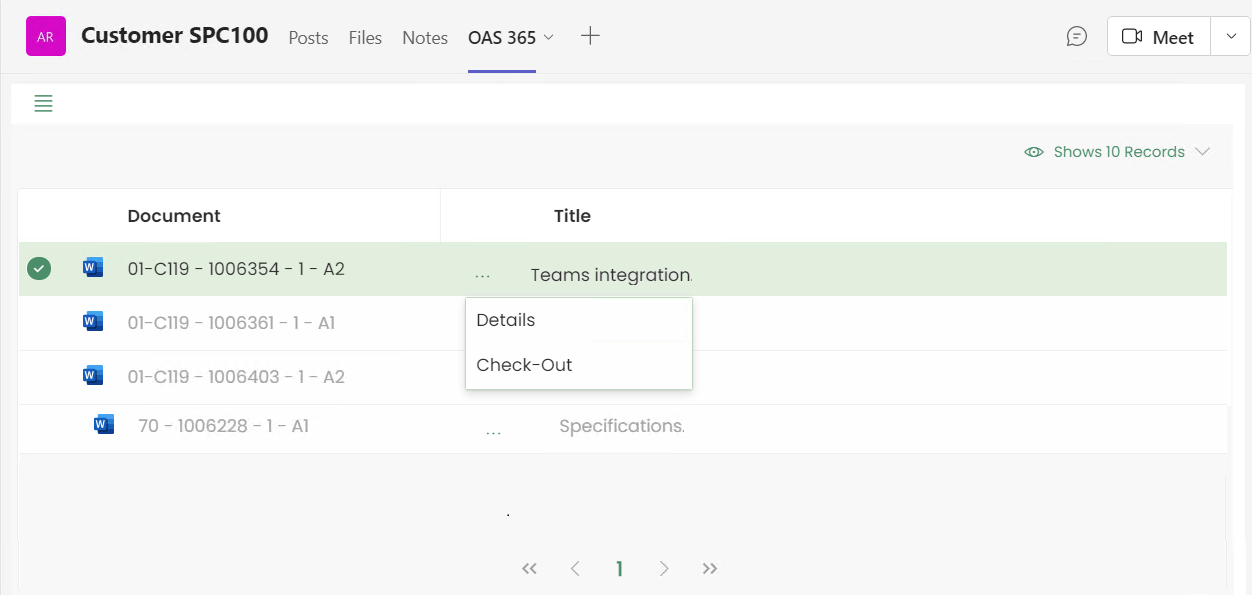
Each row of the documents has main options represented by horizontal three dots menu.
This menu will be enabled only for single document selection. There are two major functionalities under this menu as described below.
- Details
- Check-out
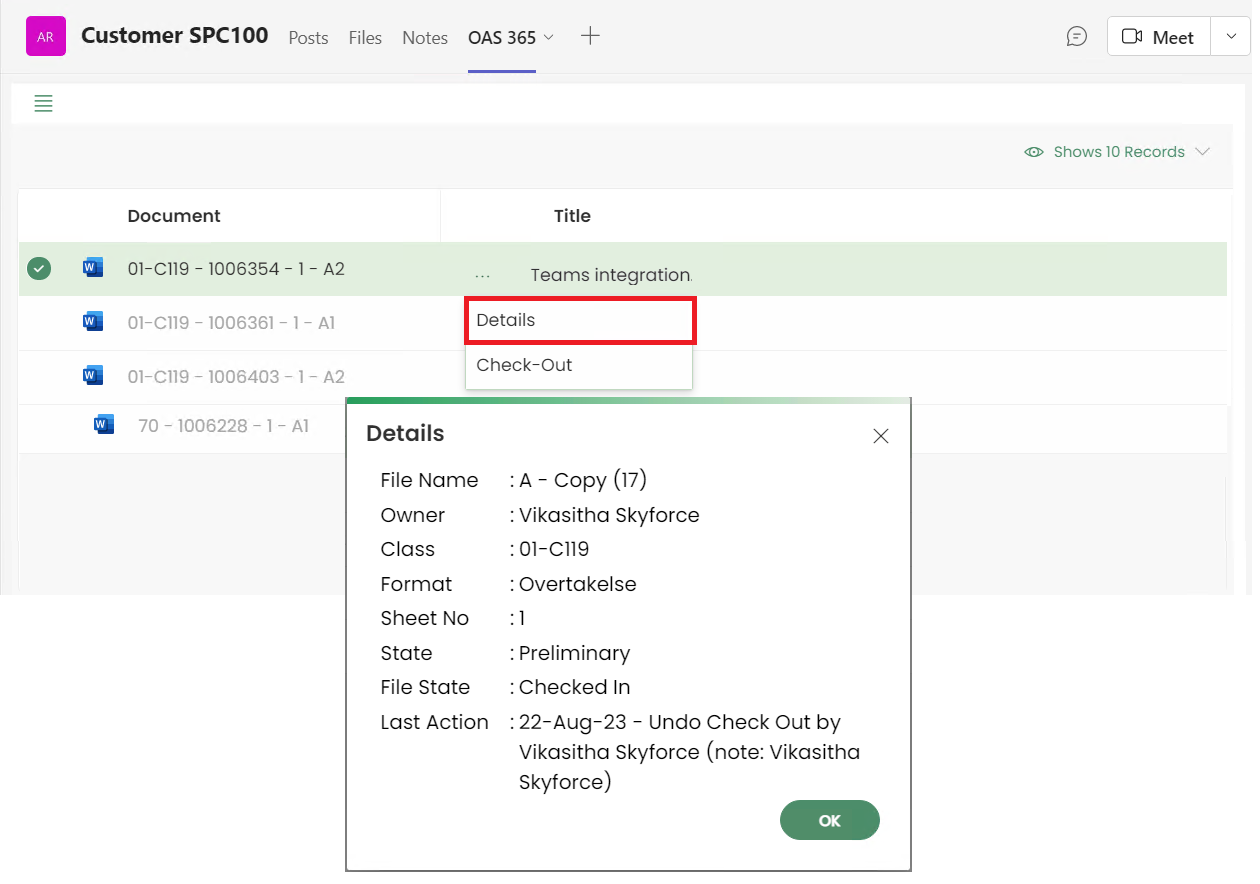
Details
Select Details from the menu.
You can view the document as below.
Check-out Document
User can Check-Out document by selecting Check-Out option from the menu.
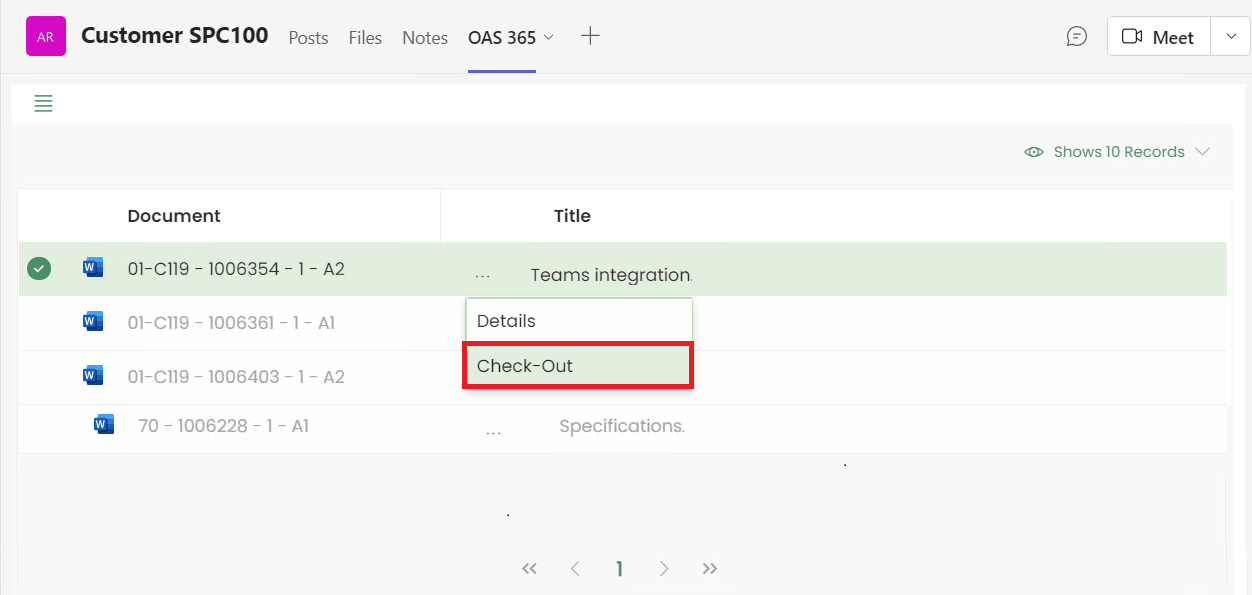
Undo Check-out Document
If the document is already checked out, user can Undo Check-Out by selecting Check-Out option from the menu.

Checked-out to me
User can view all Checked-out documents here.
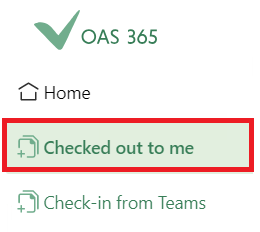
User can Undo check-out by selecting Undo Check-Out menu as below.
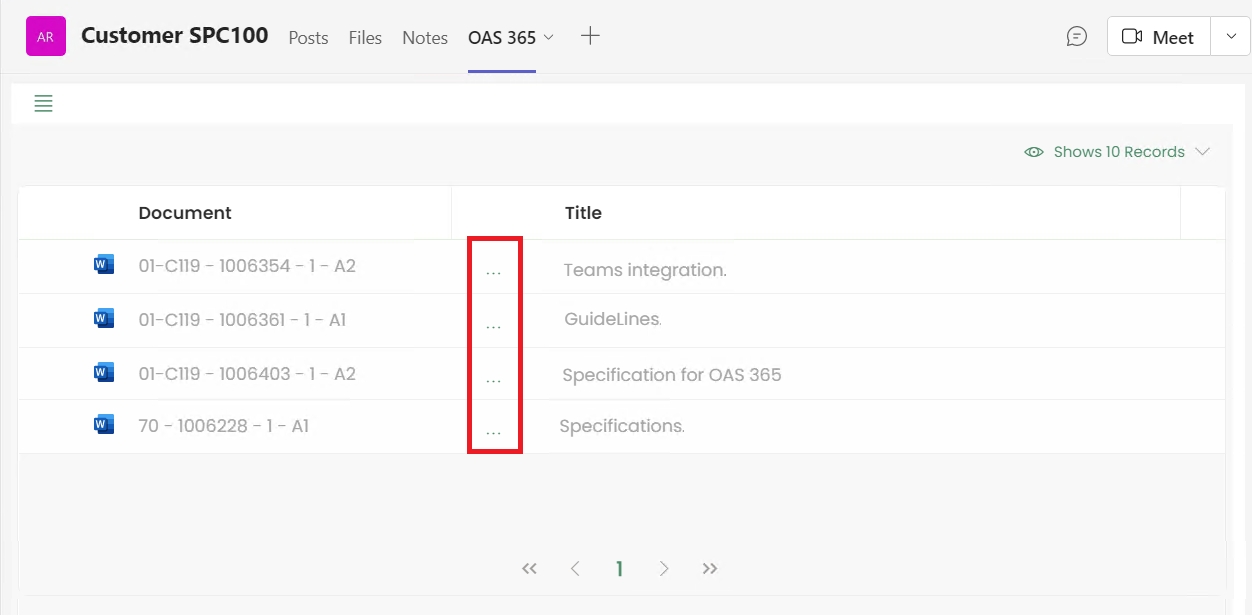
Check-in to IFS
Select Check-in to IFS from the menu.
List of documents will be displayed as below.
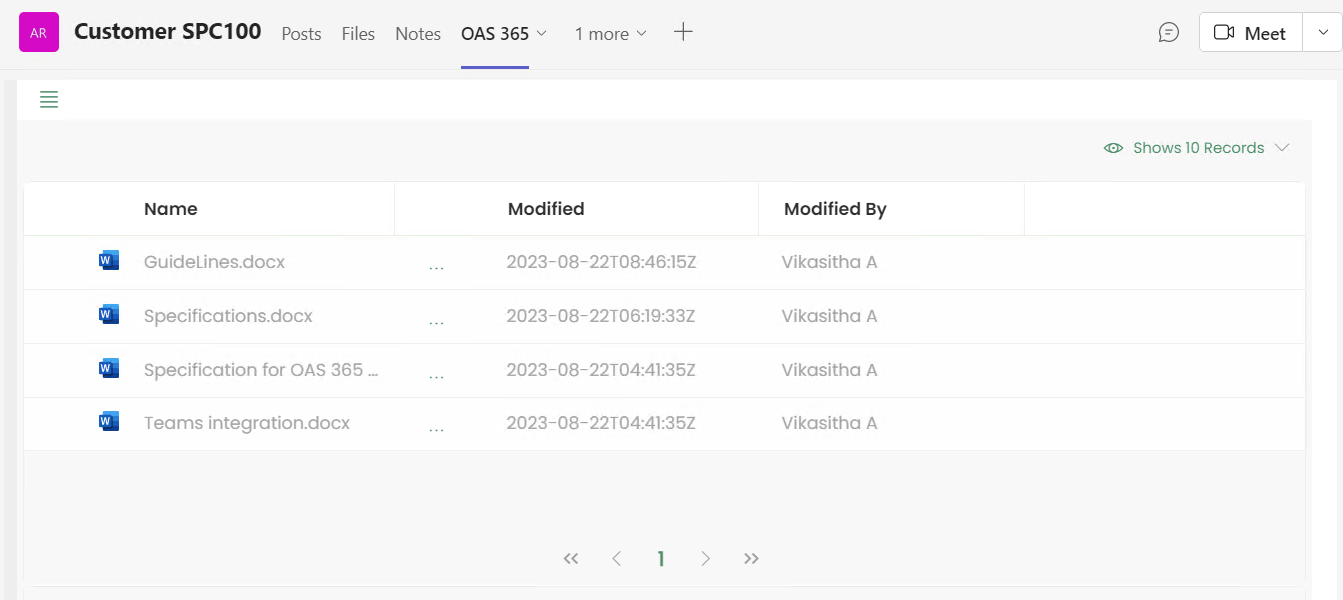
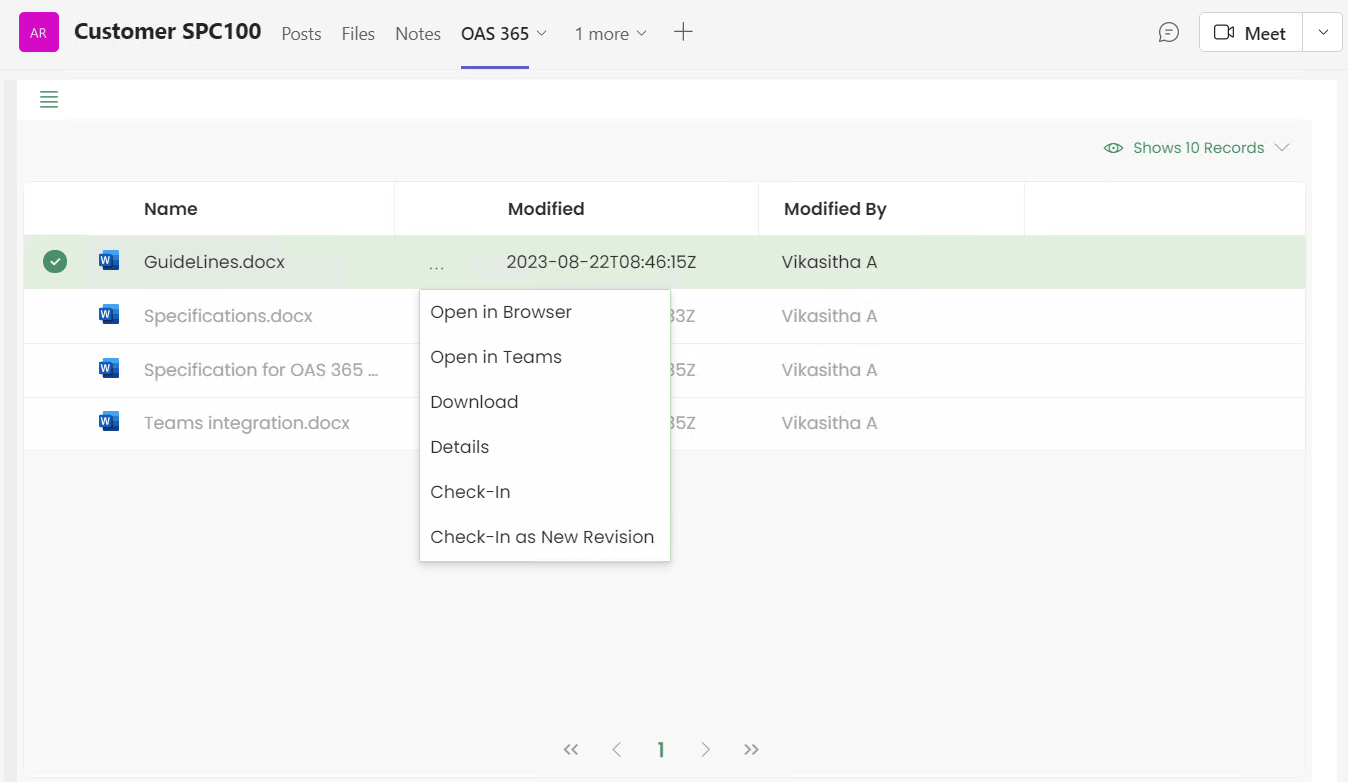
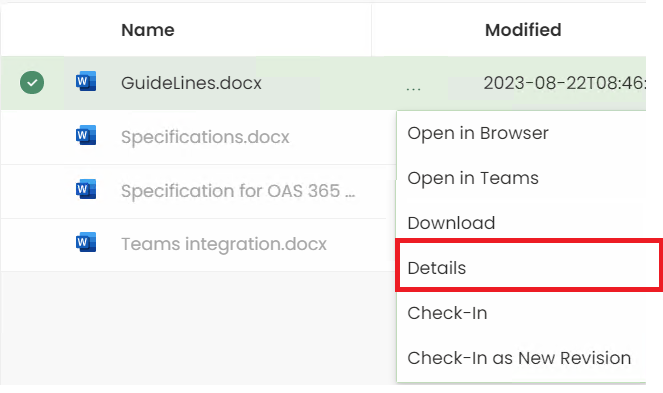
Each row of the documents has main options represented by horizontal three dots menu.
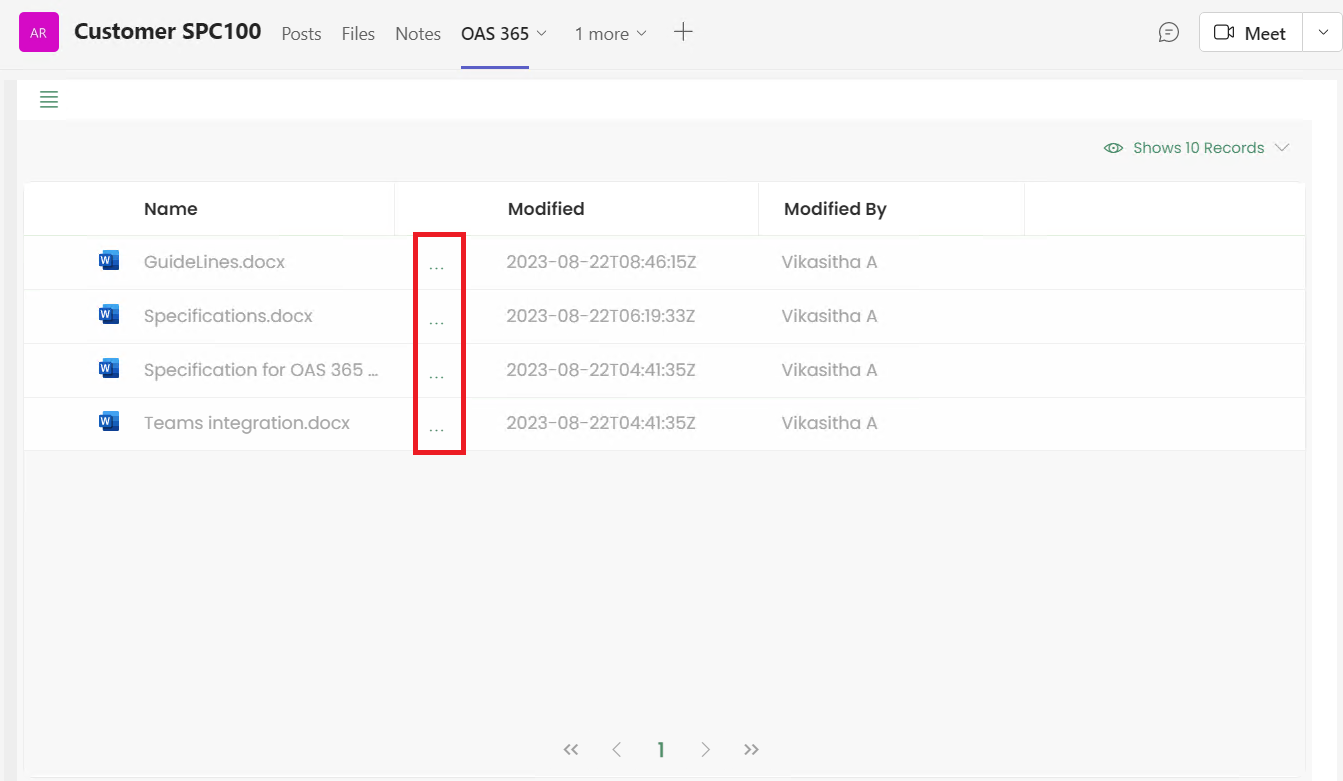
Select a document and open the context menu.
Open in Browser
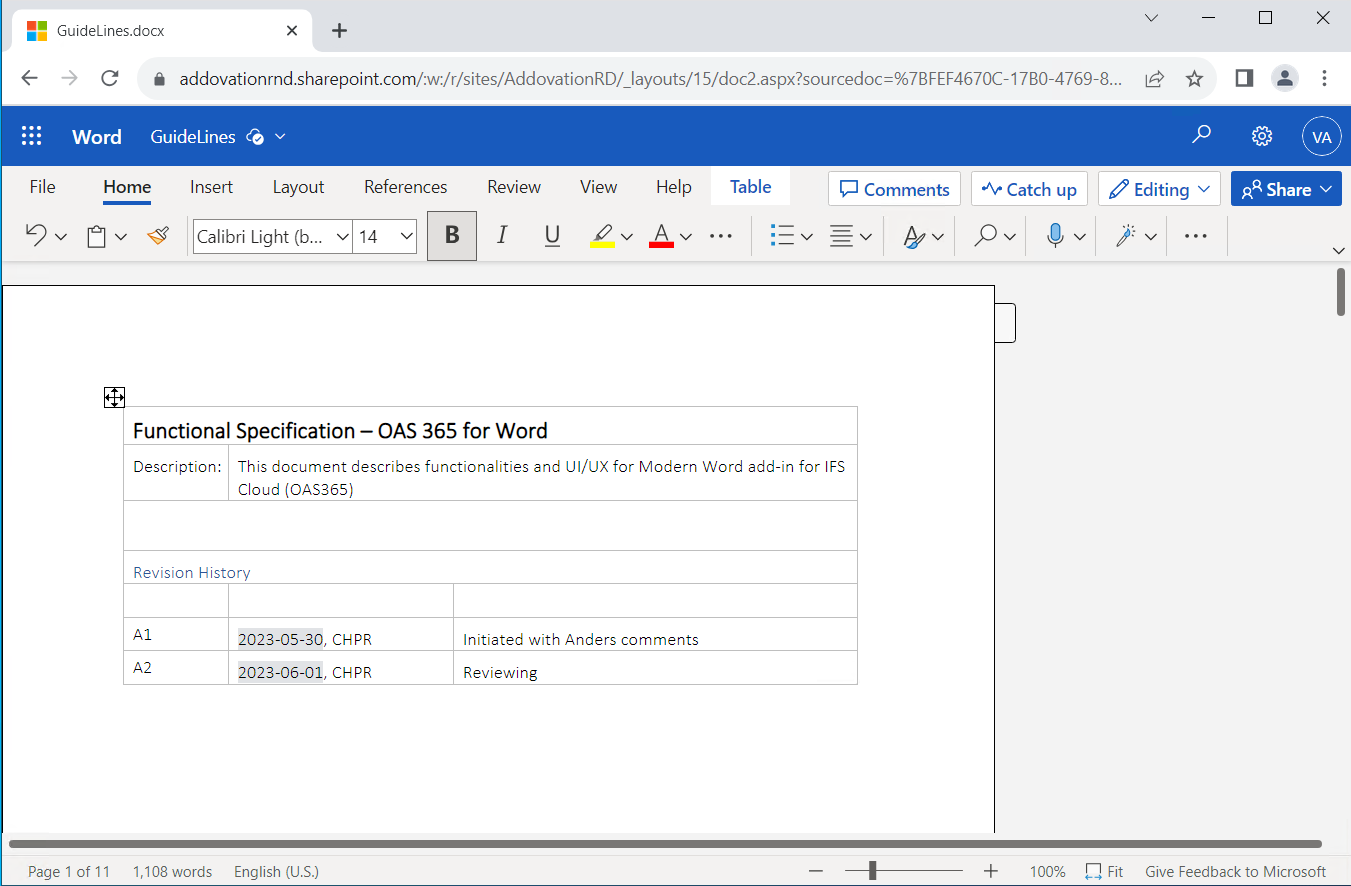
Select any document and click Open in Browser.

The selected document will be opened in the OneDrive as below. Then user can edit the opened document which is saved in logged in user’s OneDrive.
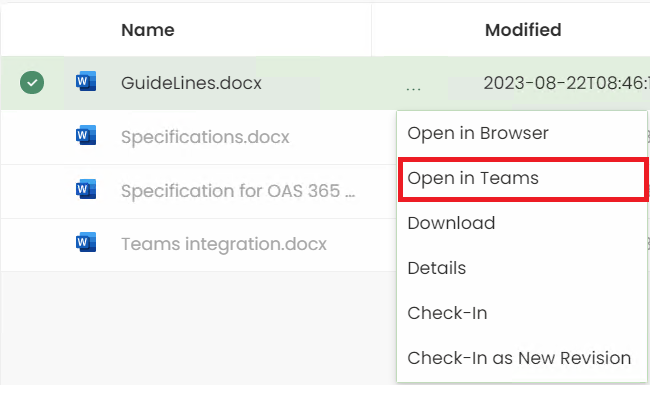
Open in Teams
Select any document and click Open in Teams.
You can view the document as below.
Selected document will be opened in Teams and user can edit the opened document.

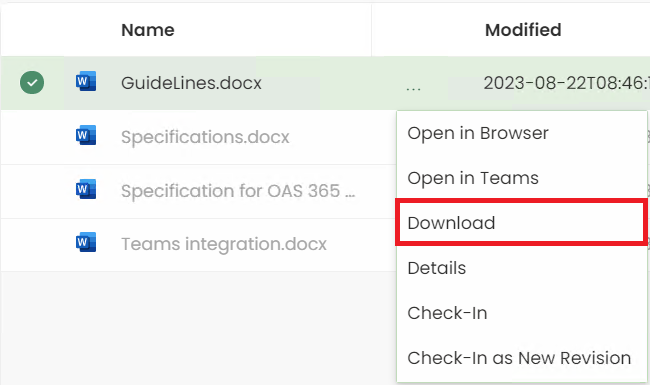
Download
Select any document and click Download.
Details
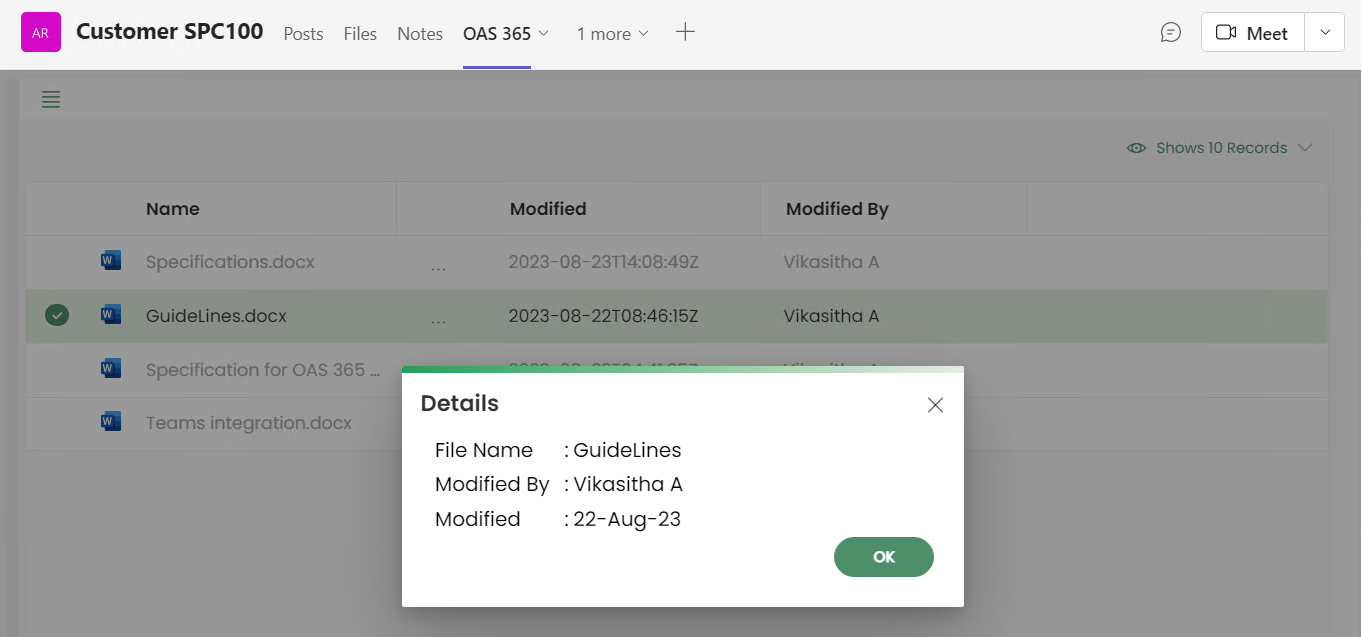
Select any document and click Details.
You can view the document details as below.
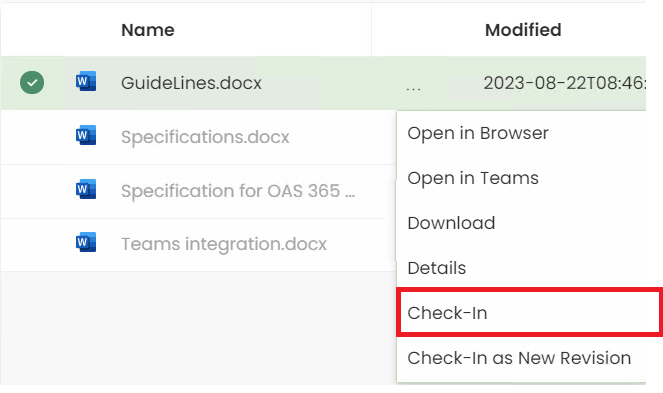
Check-In
Open context menu and click Check-In.
Selected document title will be loaded in the Title field. User can change the document title if needed.
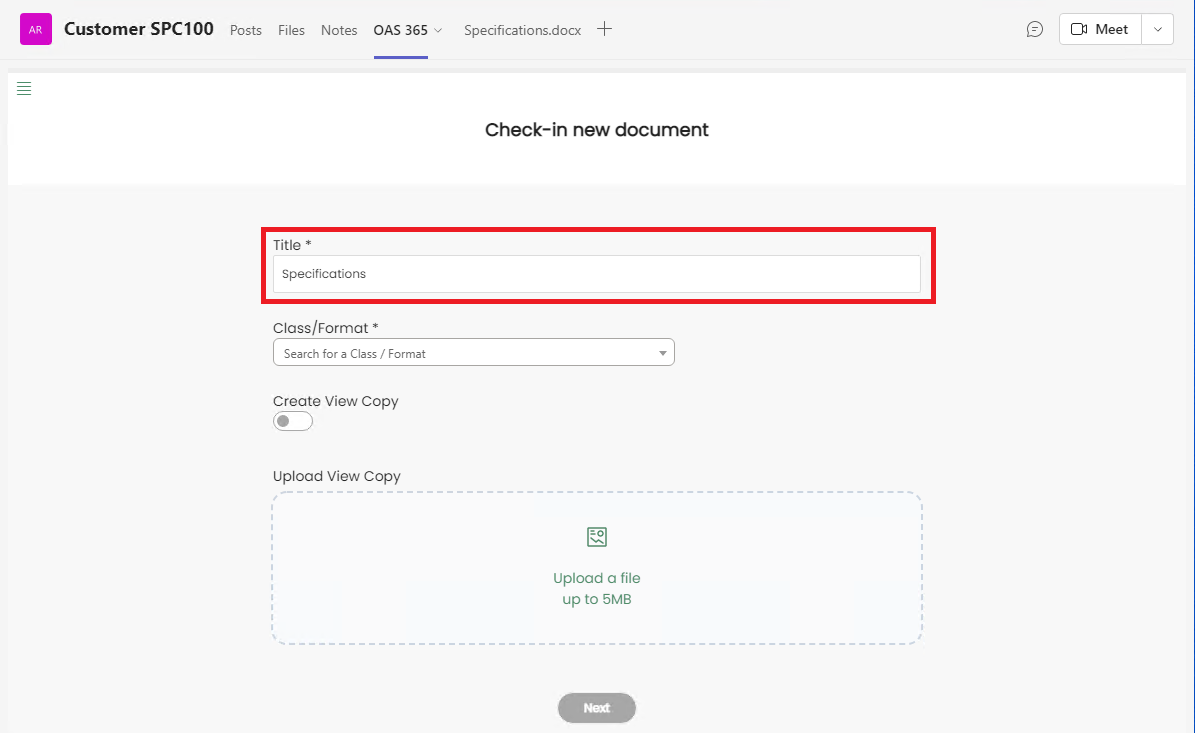
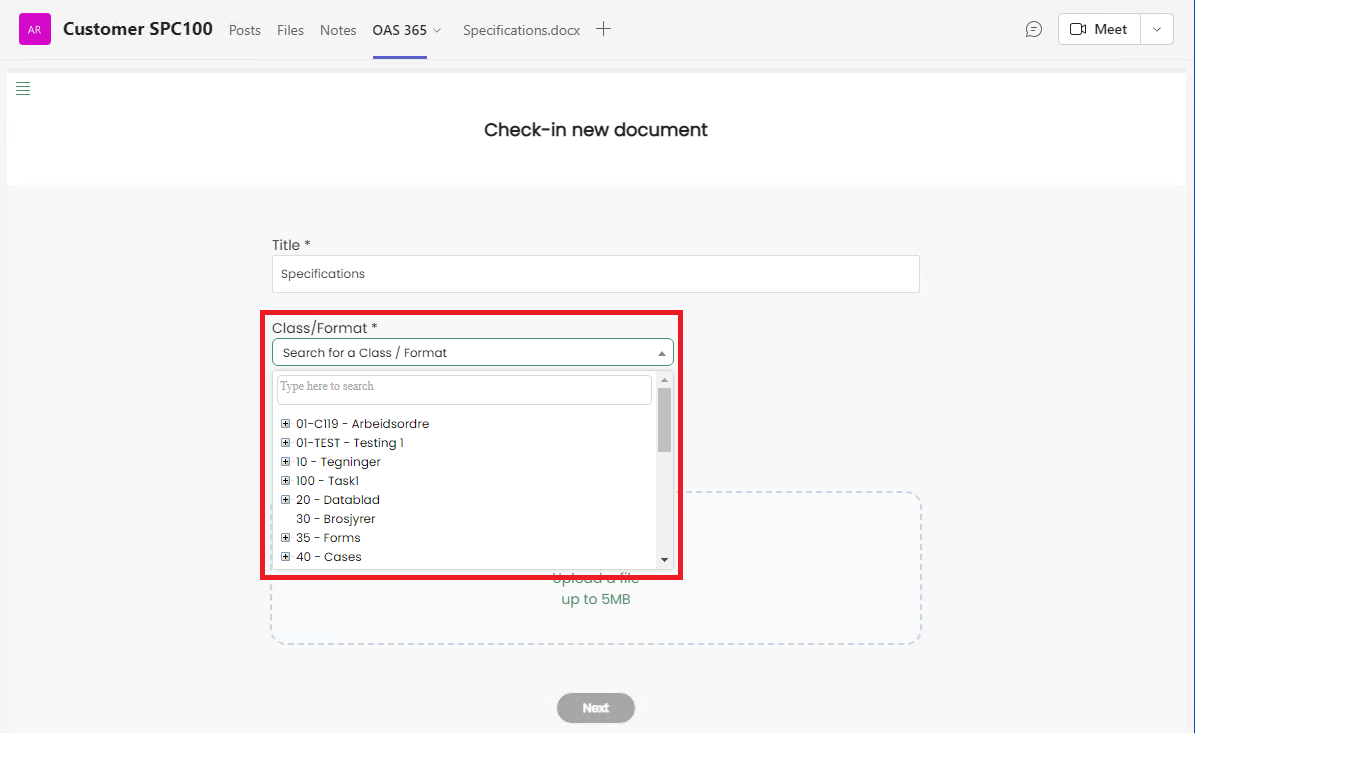
Then user can select a document class/format from the given list. The selected Class/Format will be displayed in the Class/Format text box.
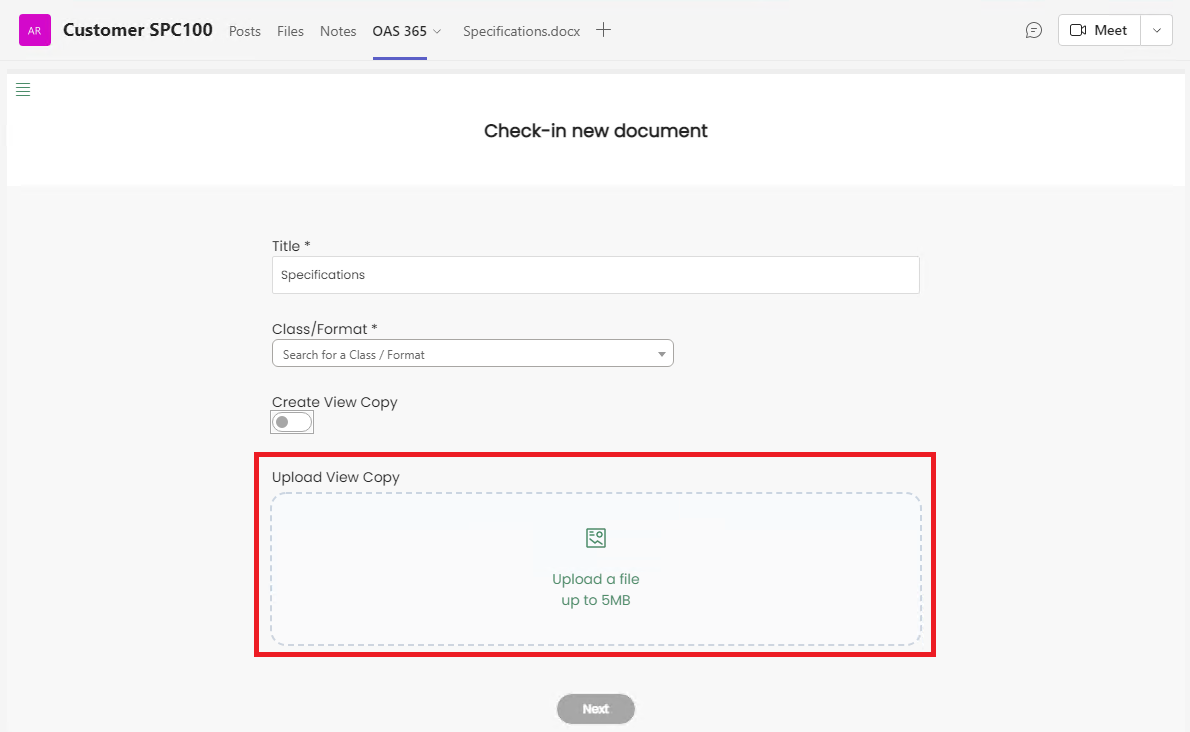
Create View Copy option will be enabled only for Word files at the moment. If you enable Create View Copy, a pdf version of the uploaded file will be created as a view copy in IFS for the created document revision.

Or else user can select a file to be used as the View Copy of the original file.
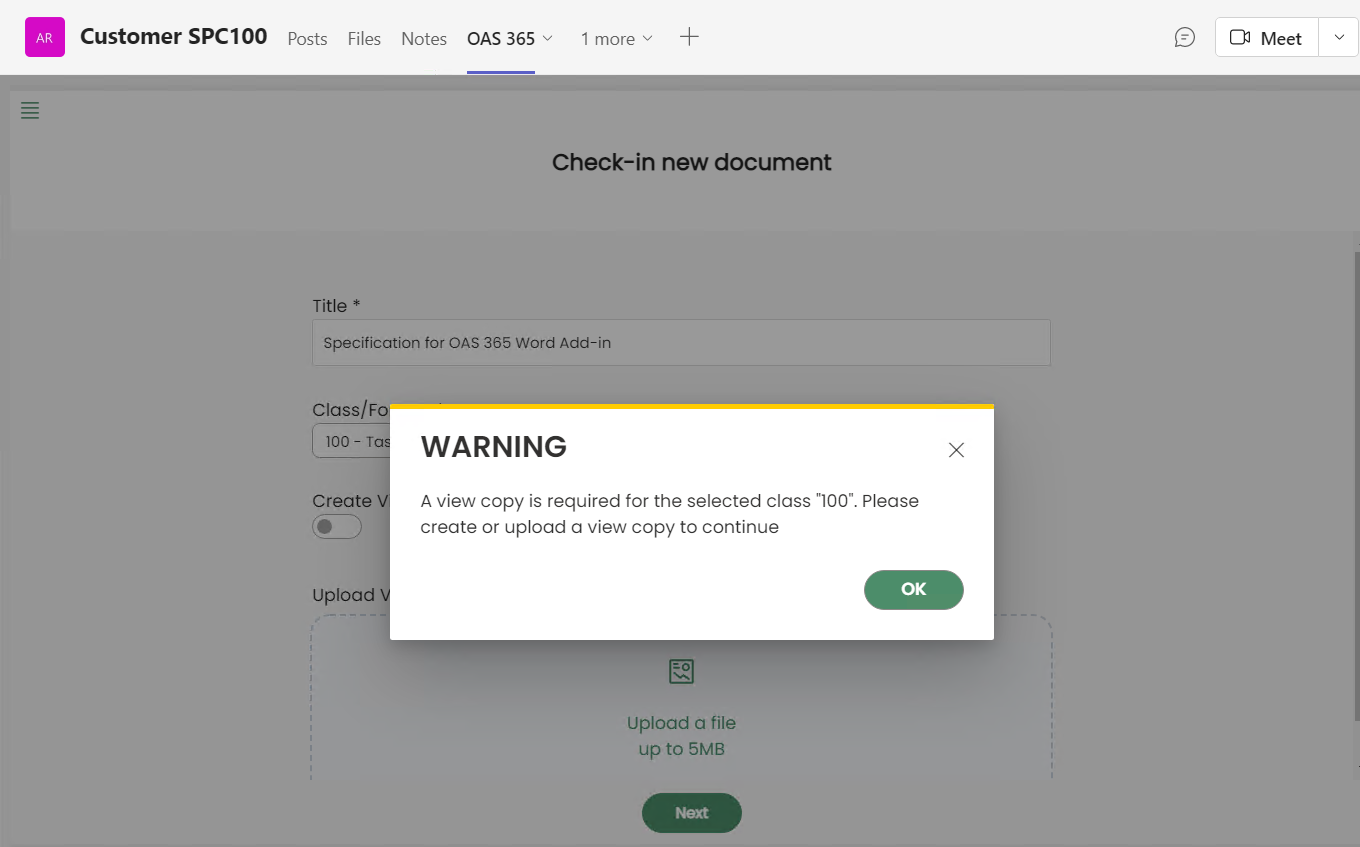
View Copy is not mandatory in every scenario. But there could be some Classes and Formats, where creating a View Copy is mandatory to proceed. In such instances, if user tries to proceed without creating the View Copy, a warning message will be displayed.
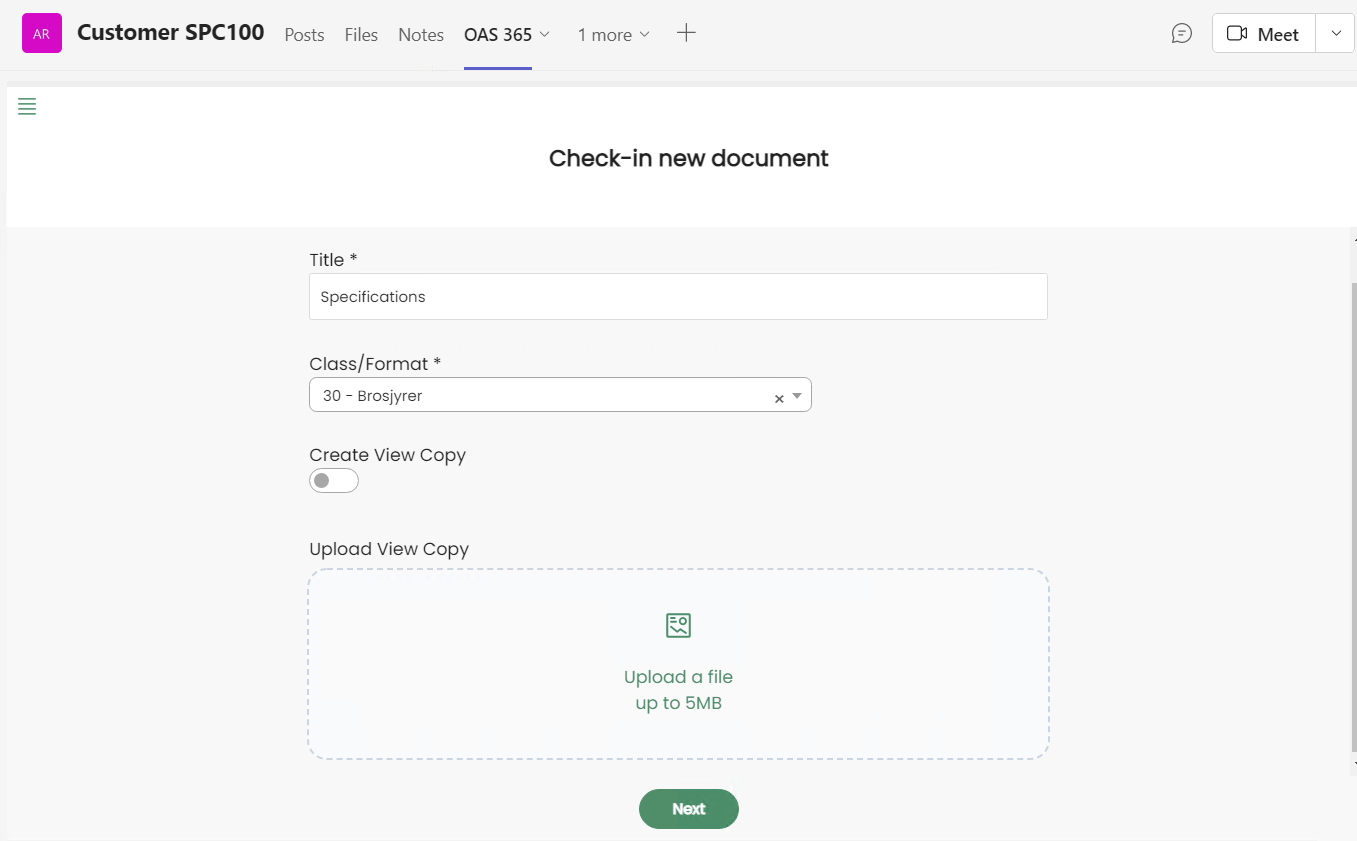
Then click Next button to navigate to Connections.
Click on Add New to add a object connection(s).
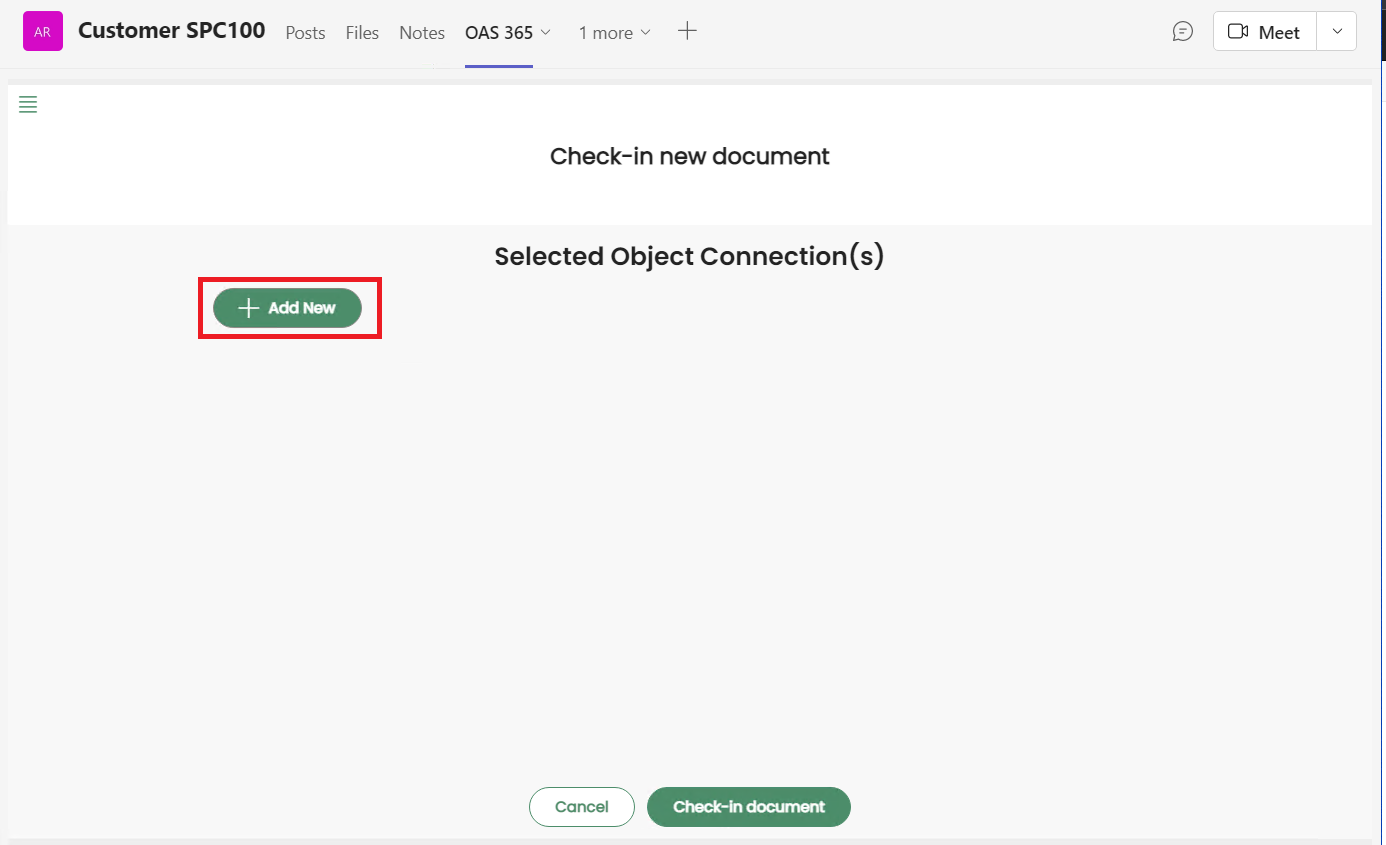
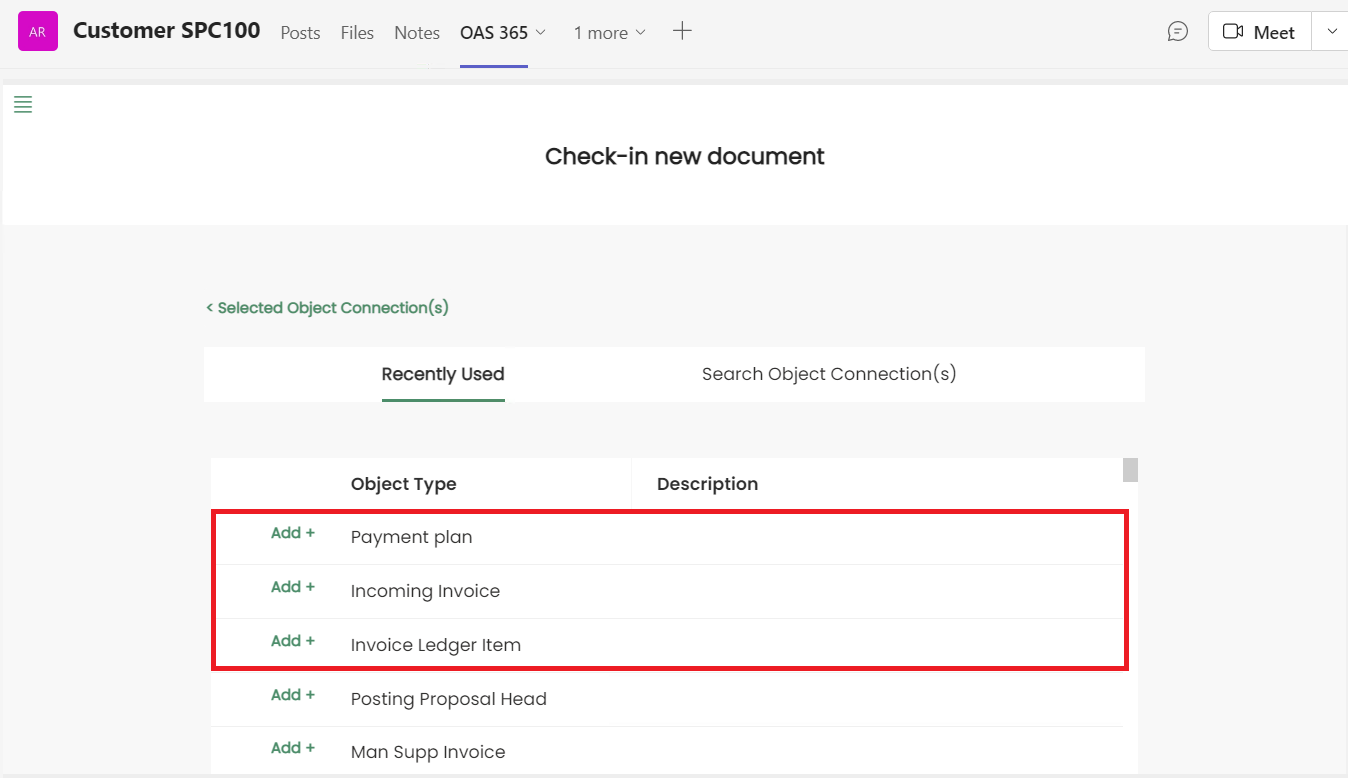
It will direct the user to the list of Recently Used object connections.
User can select one or more object connections from Recently Used connections list.
Also user can search for specific object connection(s) from Search Object Connection(s).
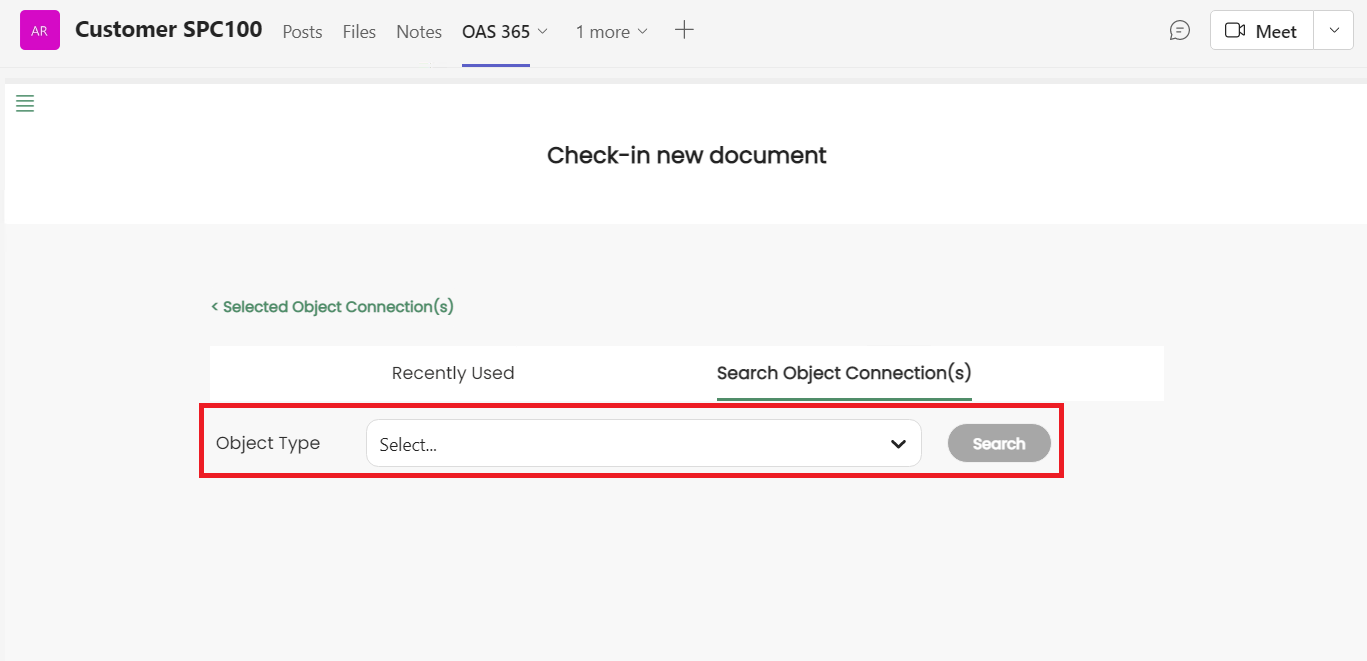
Select an Object Type first by clicking on the dropdown icon.
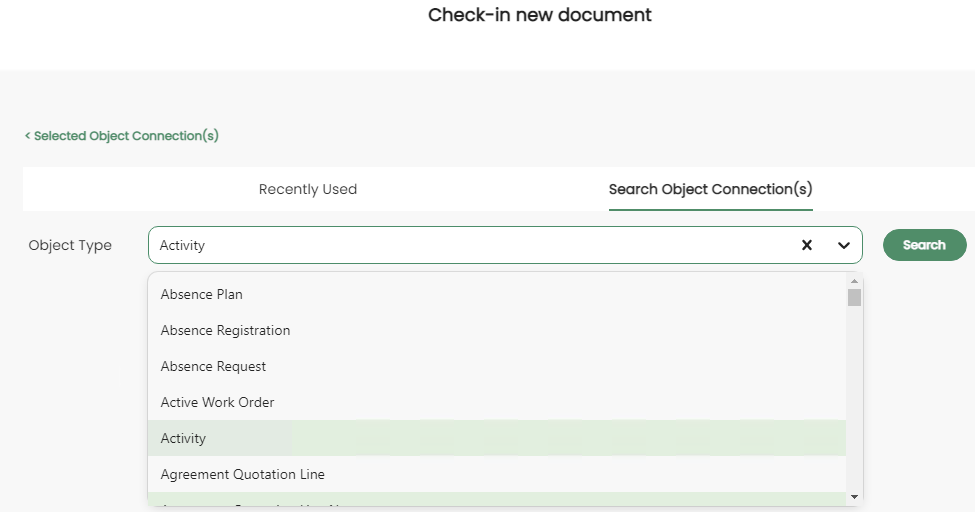

When user clicks on the See More option, a list of advanced search options will be loaded. Users can filter the object connections list by entering values into the provided fields and clicking the Search button. Then, the required object connections can be selected from the list of search results.
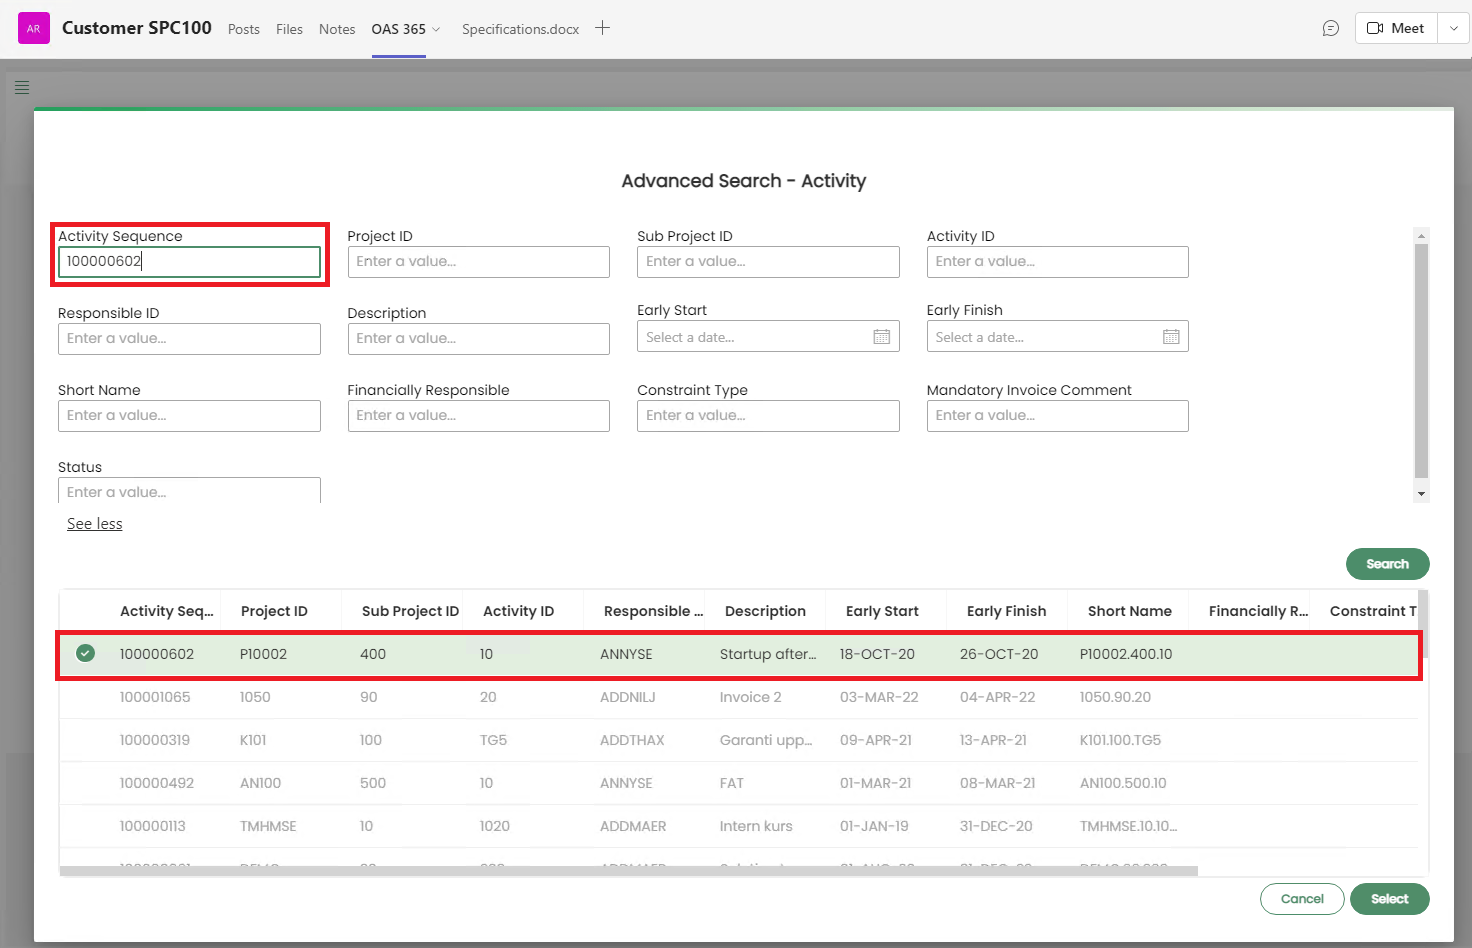
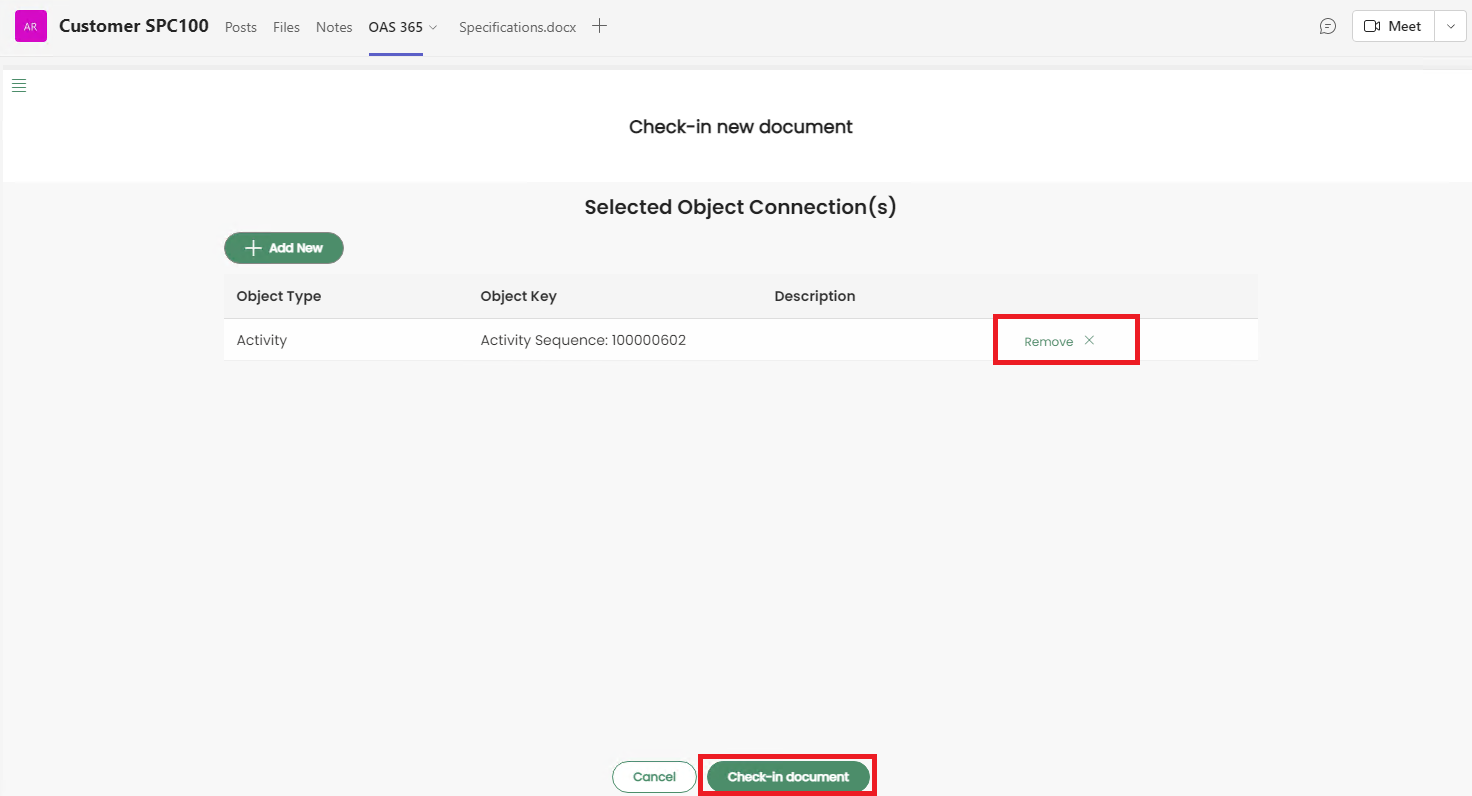
The selected object connection(s) will be listed once the Select button is clicked.
If user wish to delete the selected Object Connections, it can be done by clicking the Remove x button next to the Object Connection Description.
Then click Check-In document to check-in the file to IFS.
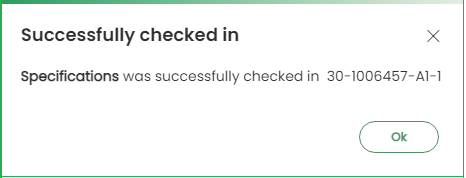
Once the file is successfully checked in to IFS, following message will be displayed.
User can view the document details in IFS as below.

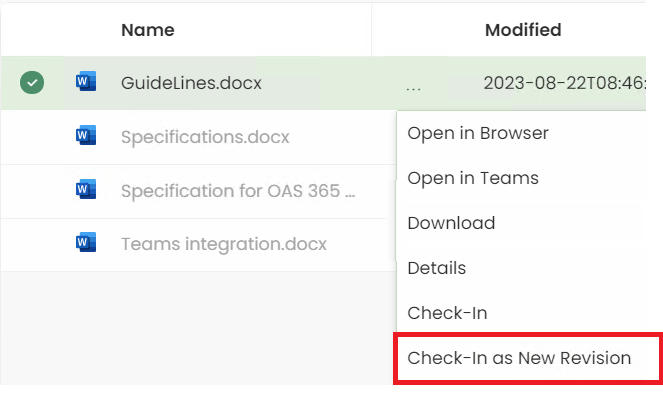
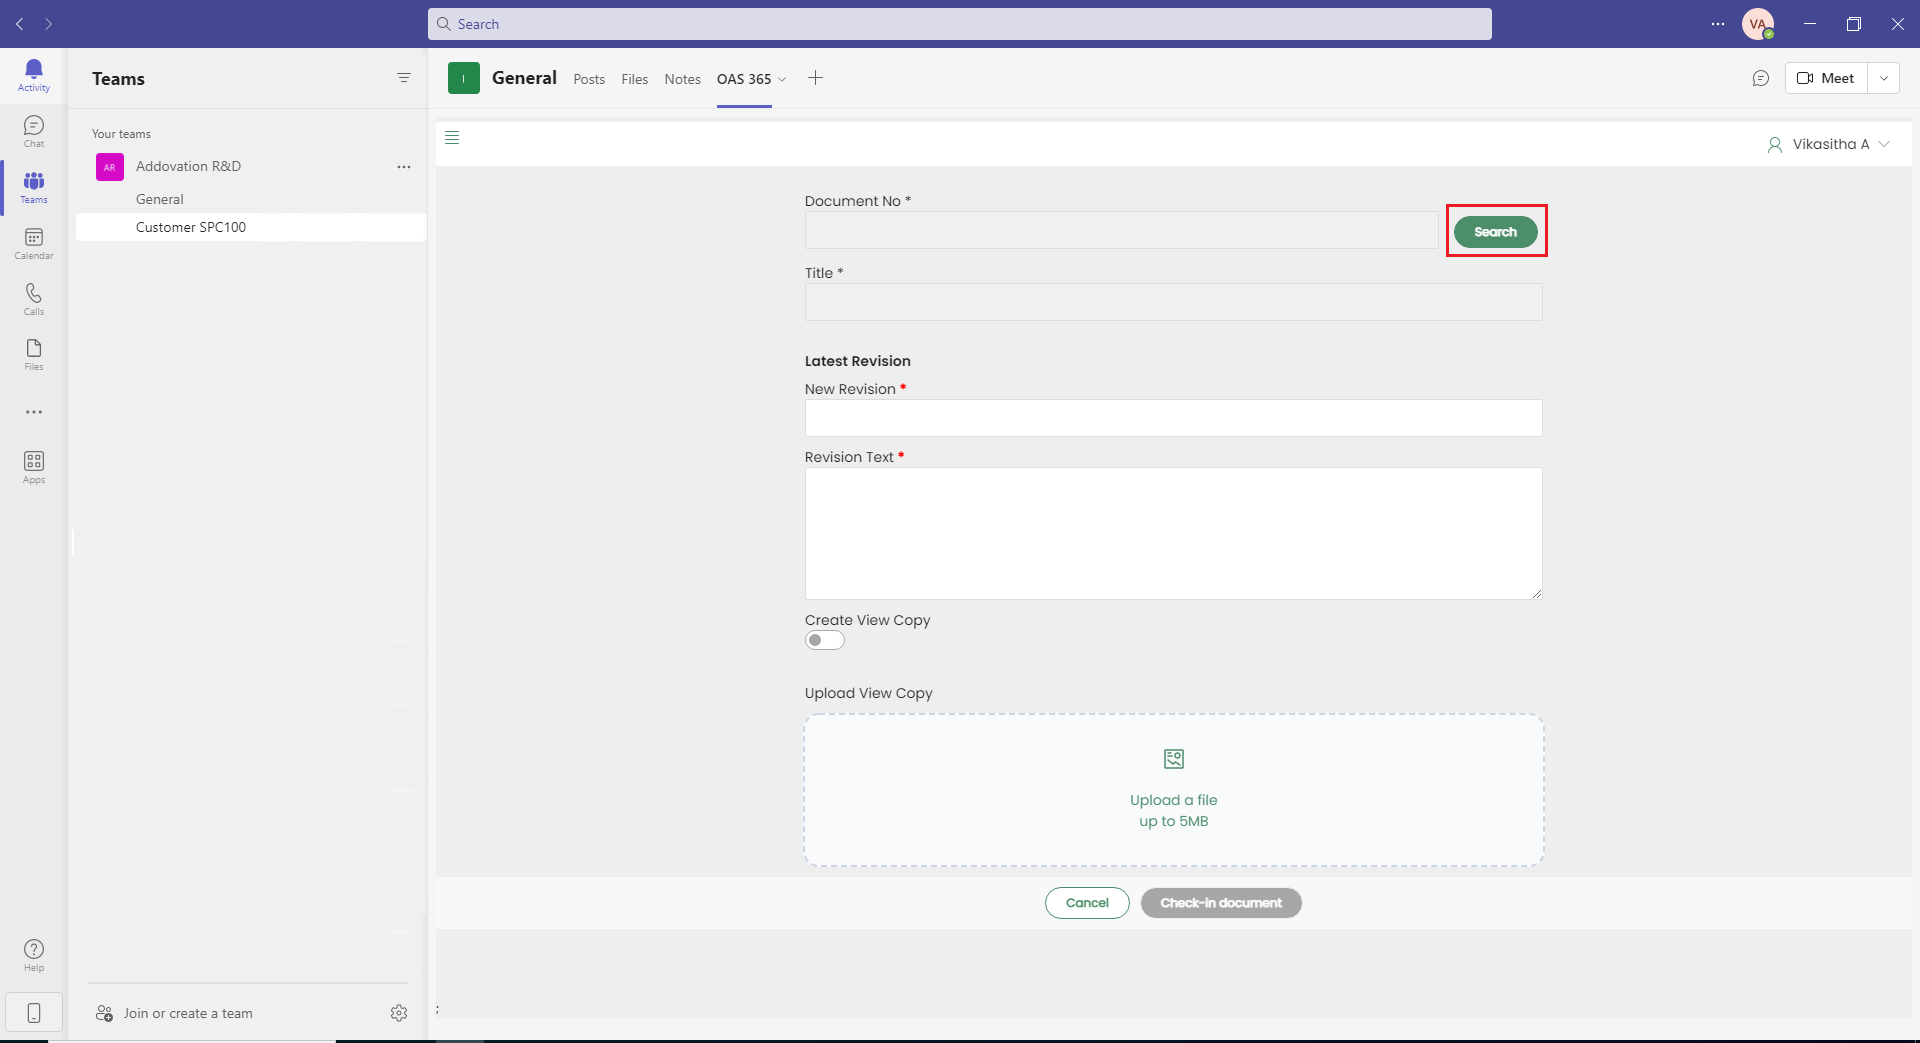
Check-In New Revision
Open context menu and click Check-In New Revision.
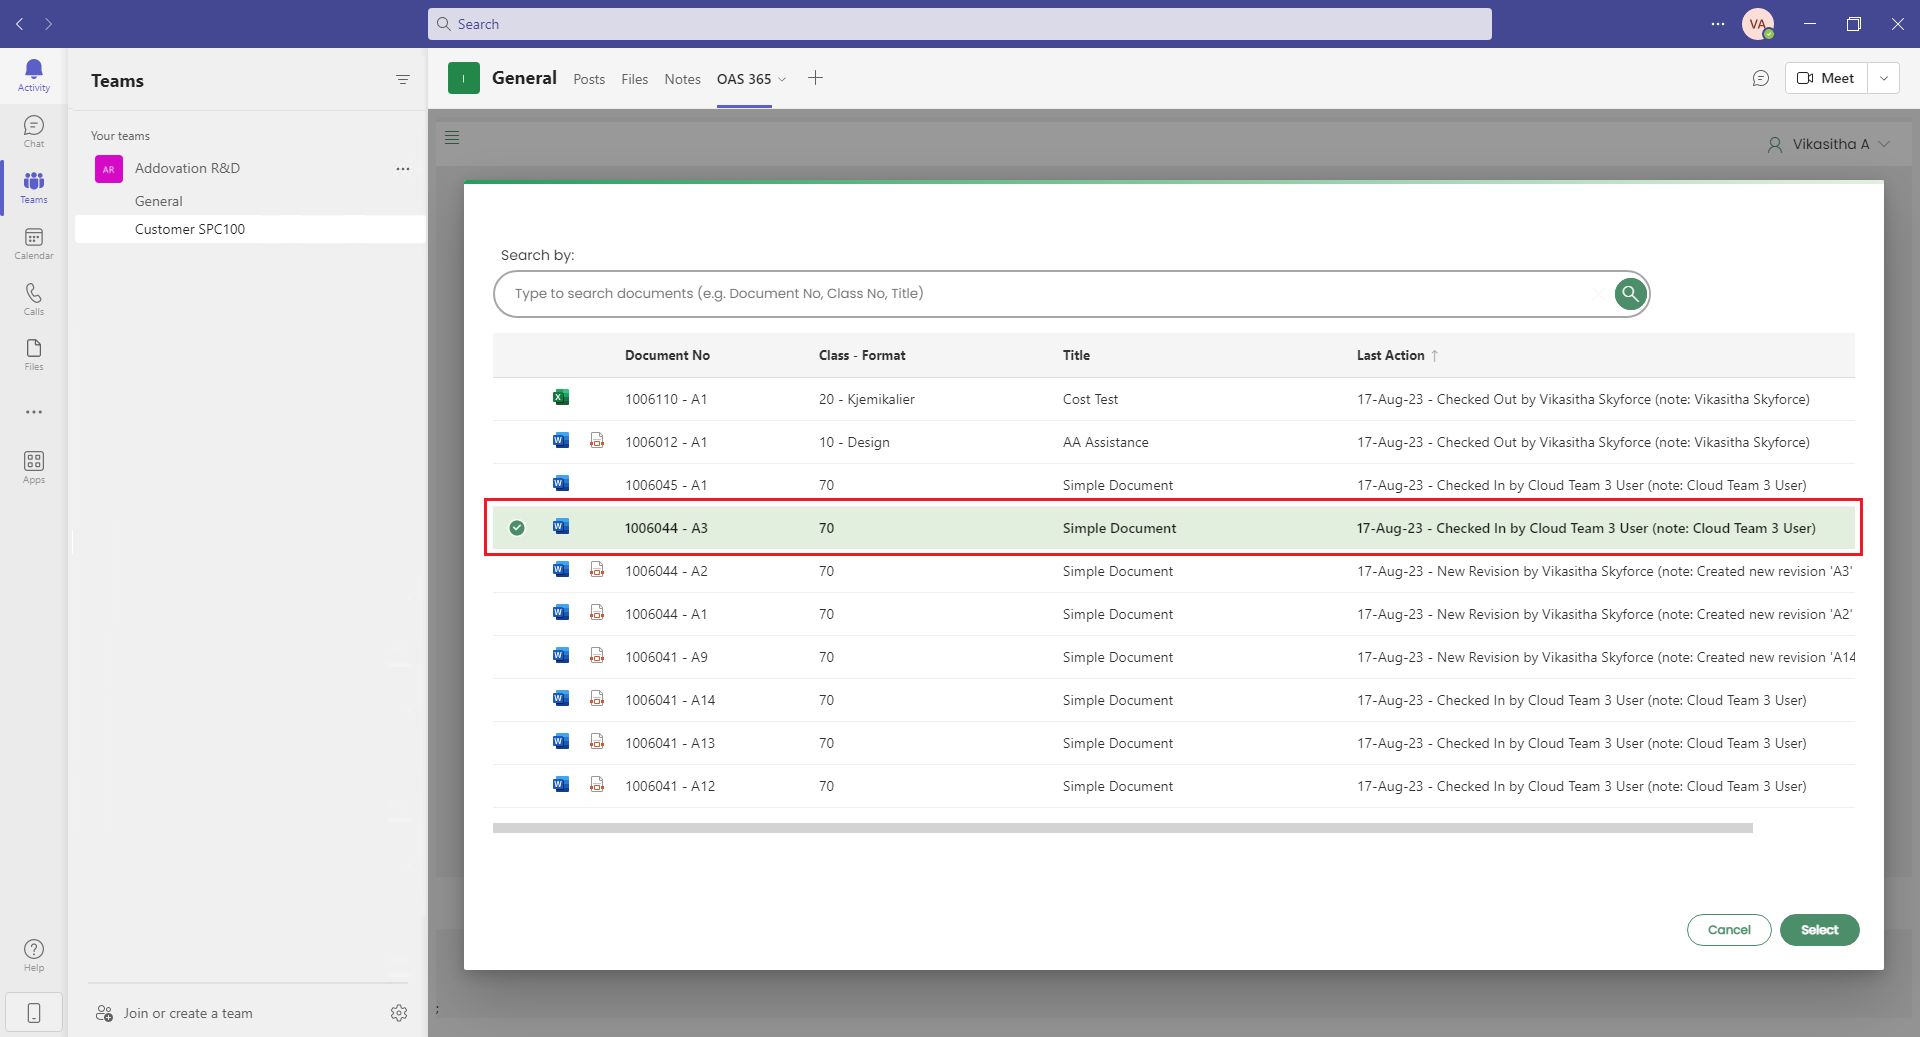
Search the document you need to make a new revision.
Choose the document and click Select.
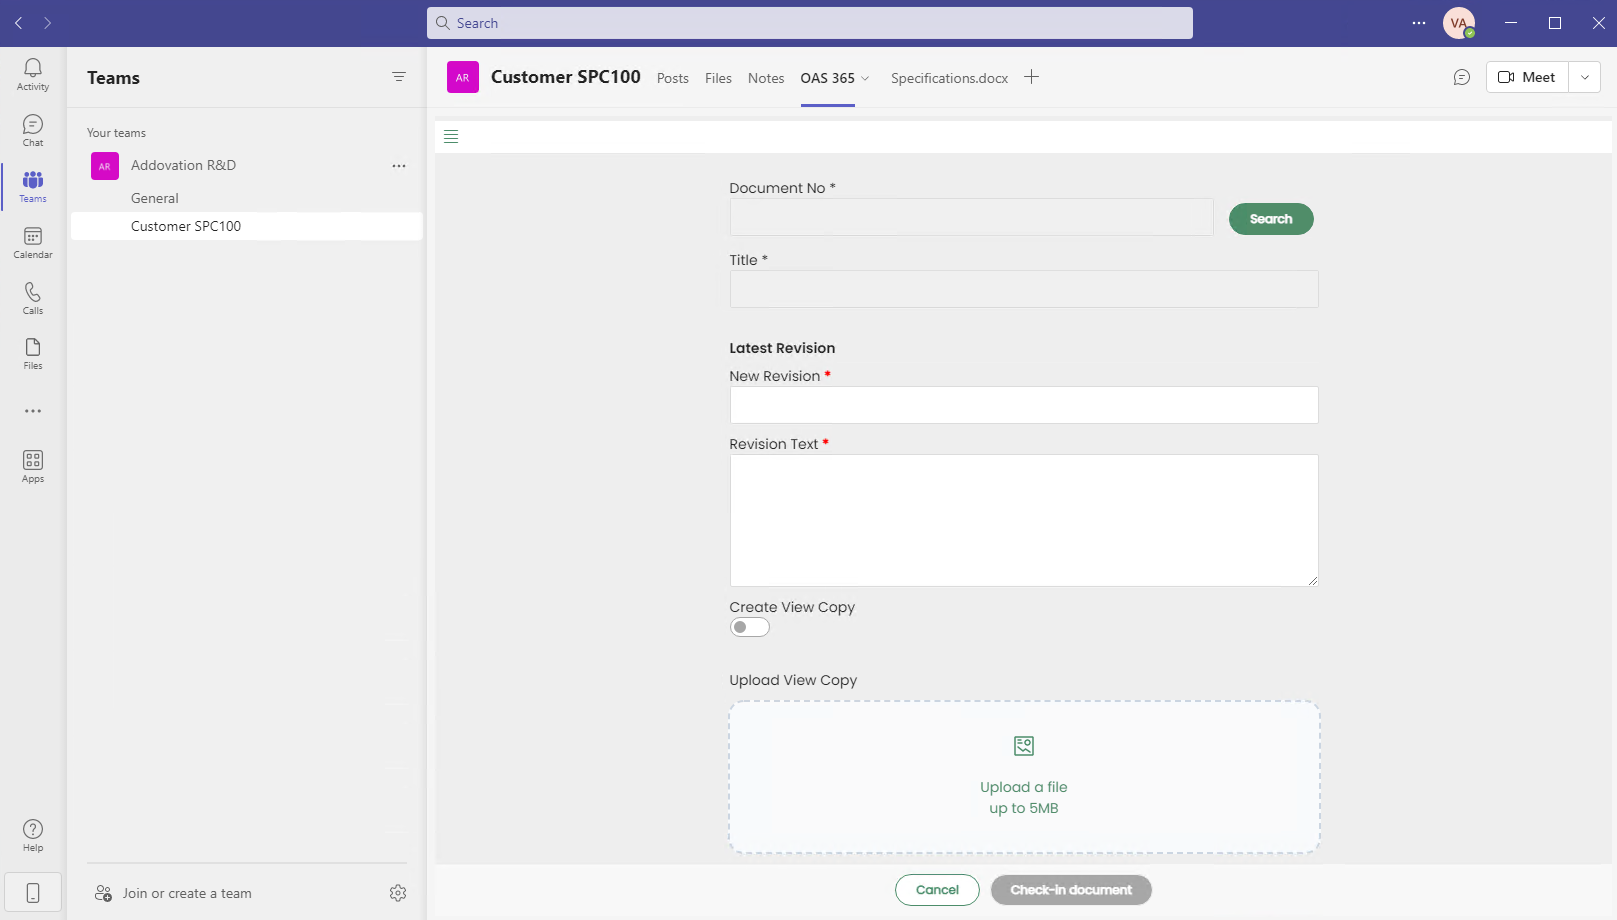
Fill Revision Text appropriately and click Check-In document.
Notification will appear once the document successfully checked in.

Go to the Home menu.
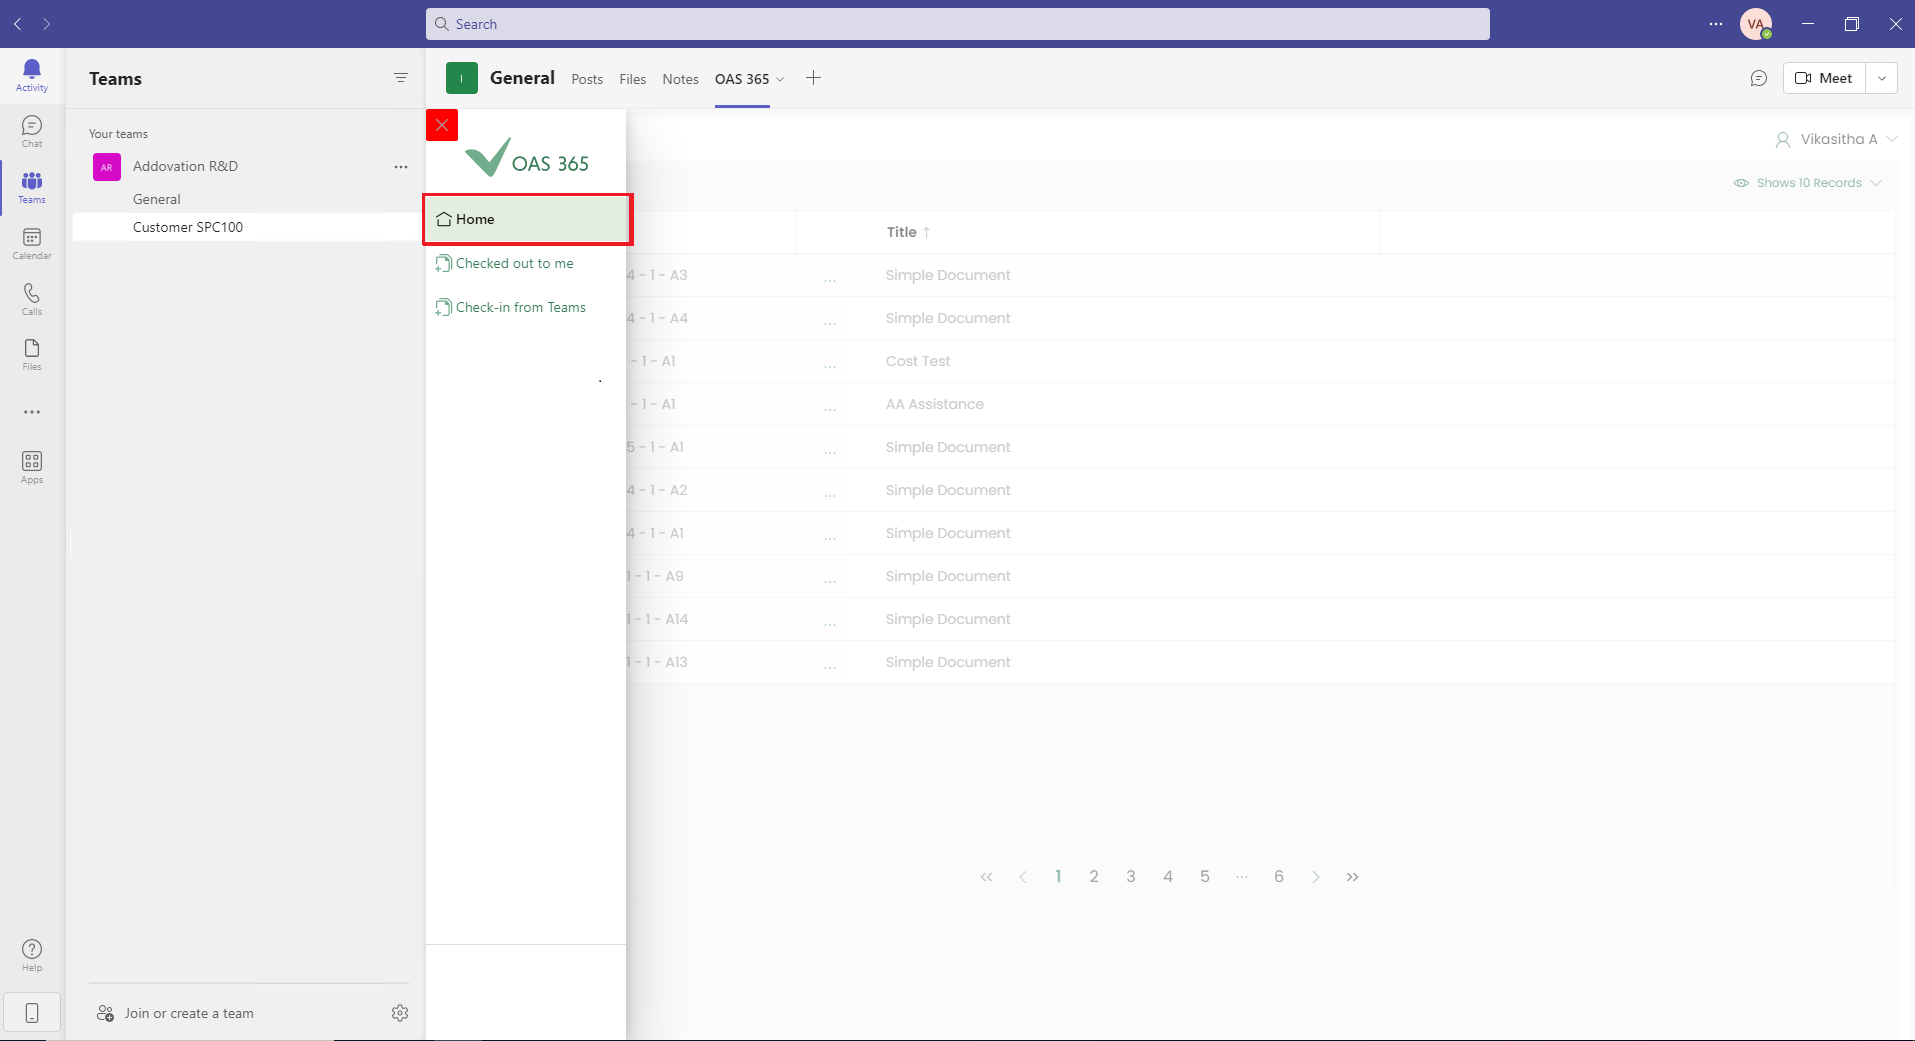
You can see the document with the new revision number.